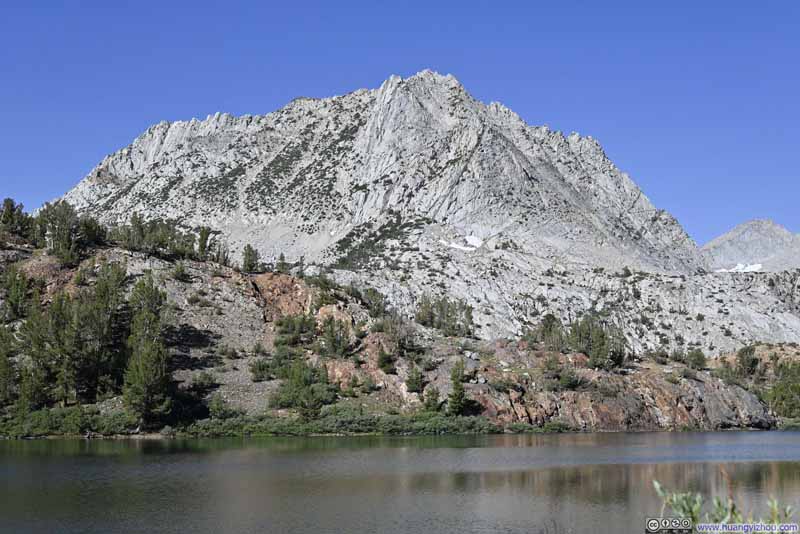
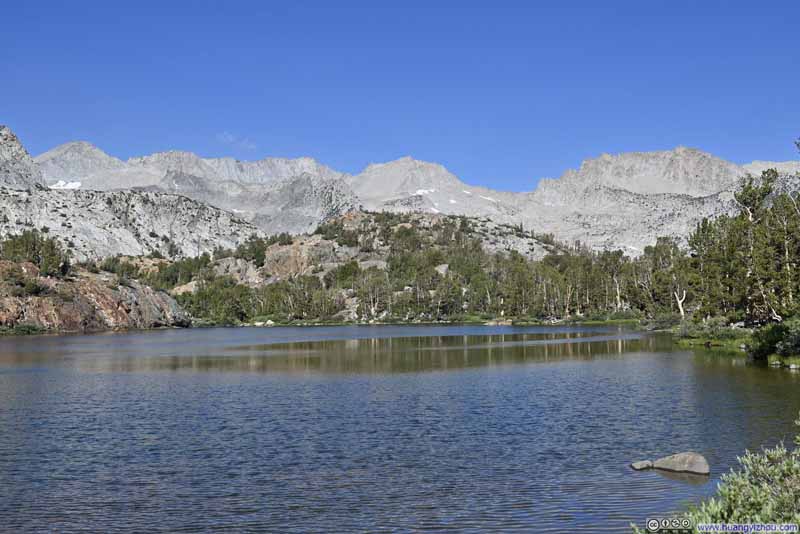
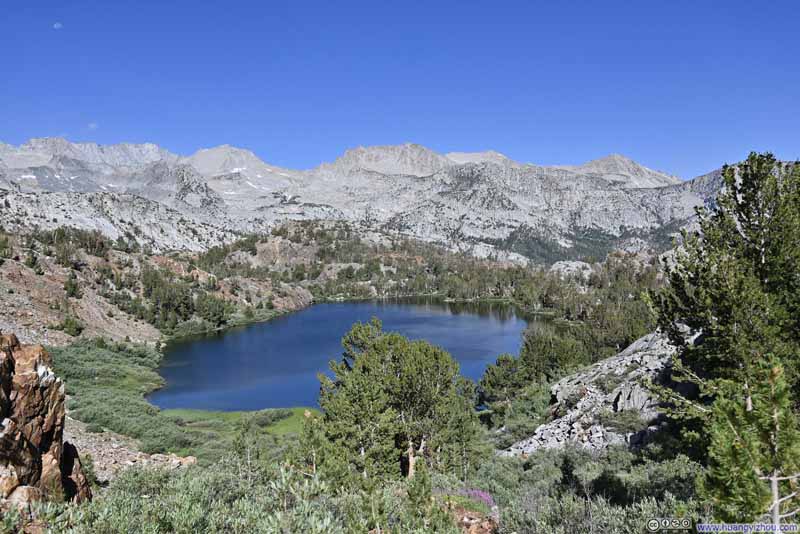
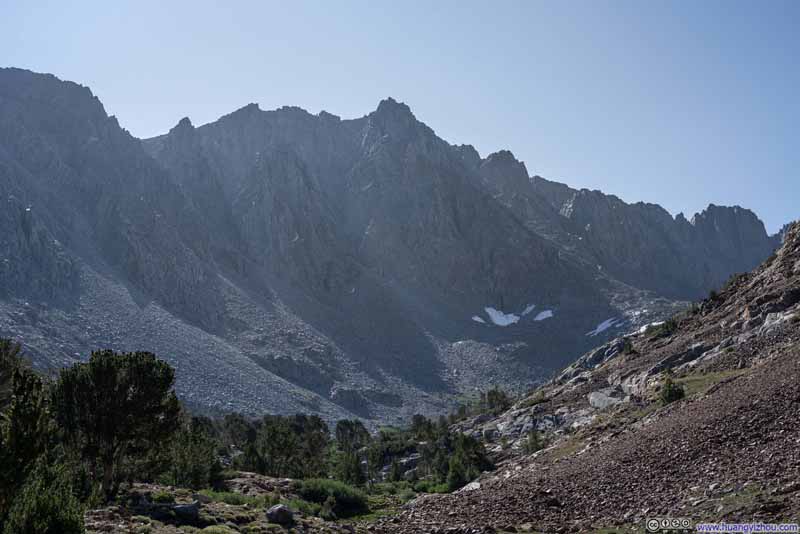
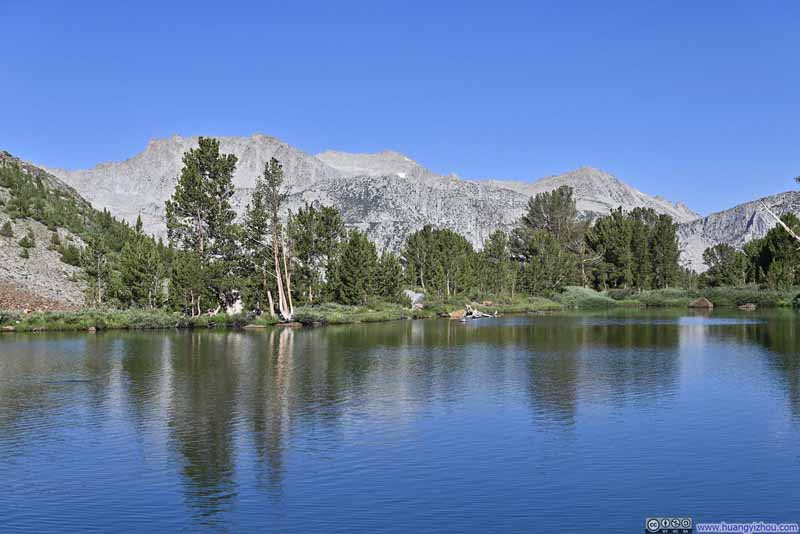
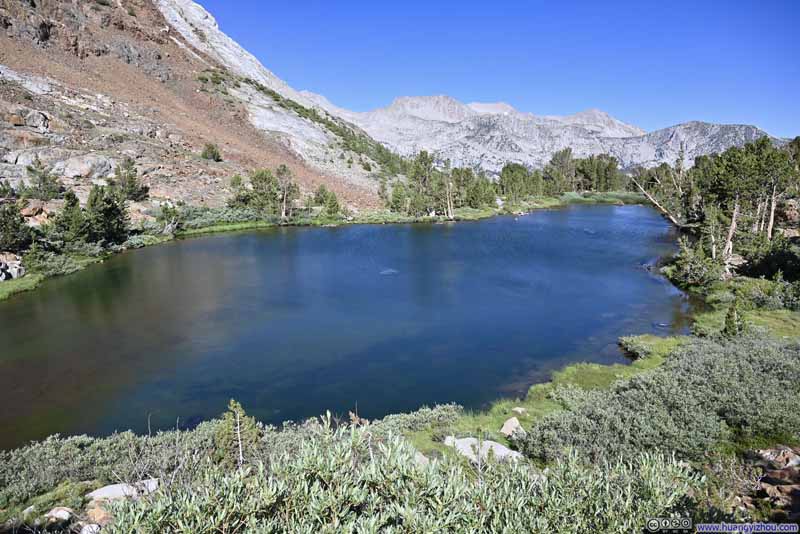
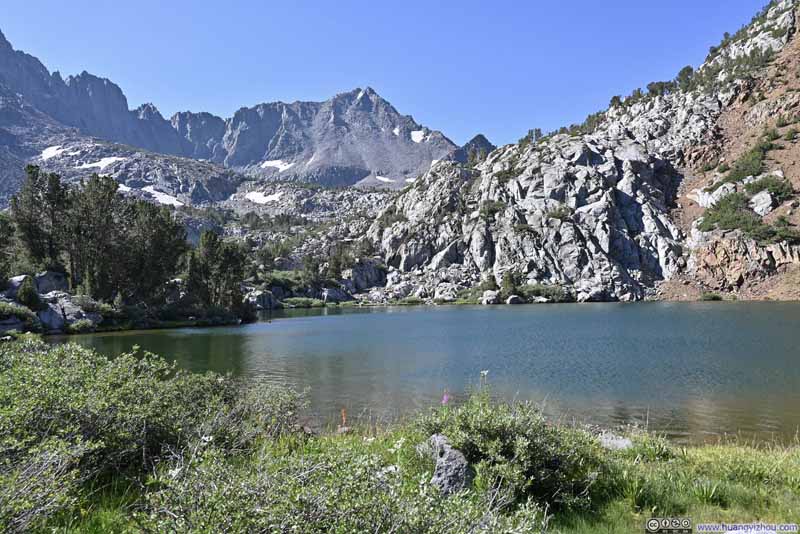
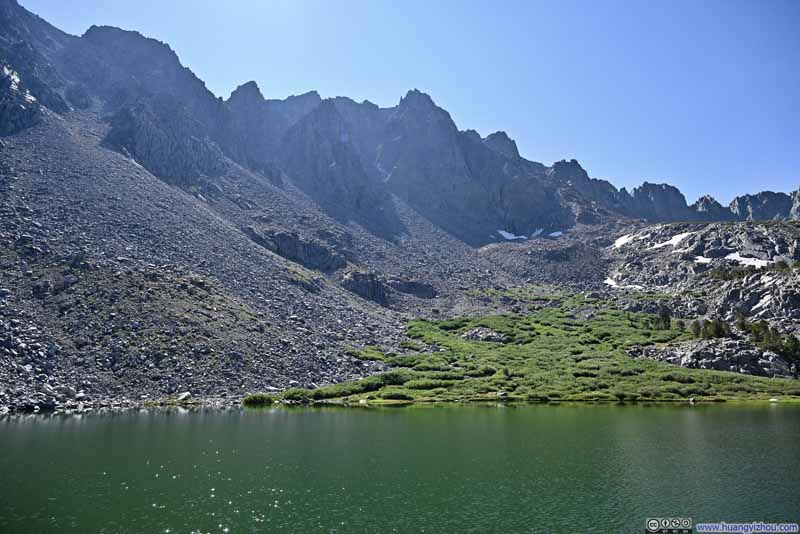
Day 6 of July 2024 Trip to Sierra Nevada, Cloudripper via West Chute

Sixth day of my July 2024 trip to the Sierra Nevada. This was the most exciting day of the trip as my friend and I tackled Cloudripper via West Chute, a thrilling YDS class 3 adventure among the beguiling mountains of Sierra Nevada.

Alpine Lakes and Mountains


Alpine Lakes and Mountains

I first knew this part of Sierra Nevada from an online post about Mount Agassiz, with spectacular views of endless alpine peaks from its summit. It’s enticing enough that I’m willing to fly across the country to make a trip out of it. I would love for it to be the culmination of this trip, but on the other hand, I was traveling with a friend that was very into (indoor) climbing, so I was more inclined to introduce to him outdoor ones. With Mount Agassiz only being a YDS class 2 mountain, I was more looking at something YDS class 3 in the region, and that’s how I set sight on Cloudripper.

The standard route to Cloudripper was via Green Lake Trail and Vagabond Peak, which was rated as YDS class 2. However, Cloudripper’s West Chute from Chocolate Lakes was also a possible route that’s rated as YDS class 3. We planned to descend Cloudripper via Vagabond and Green Lake, making it a loop.
As its name suggested, the West Chute of Cloudripper was long and steep, which meant it came with exposure at some of the most technical moves. It also required proper route-finding from time to time, as once off the easiest path, things could pick up difficulties very fast. There wasn’t much information about Cloudripper’s West Chute online, I found the YouTube video by WankSteez and that by livehardxlovehard helpful. Notice that my friend and I picked a different and in our opinion better path than the one around 5:30 of the second video. Mostly importantly, Ranger Gupta’s substack post clearly marked the most important route-finding point throughout the entire trip, which convinced us that we were up to the challenges brought by this peak, and for that we were very grateful.

As for our plan, the weather forecast was good for both today (July 25) and the next day (July 26), and perhaps marginally better tomorrow. Since we didn’t take any hikes the previous day because of the weather, we were feeling energized today and decided to take on Cloudripper.

After a half-hour drive from the town of Bishop, we arrived at South Lake / Bishop Pass Trailhead just before 8am, and started our hike shortly after.
Here’s GPS tracking:

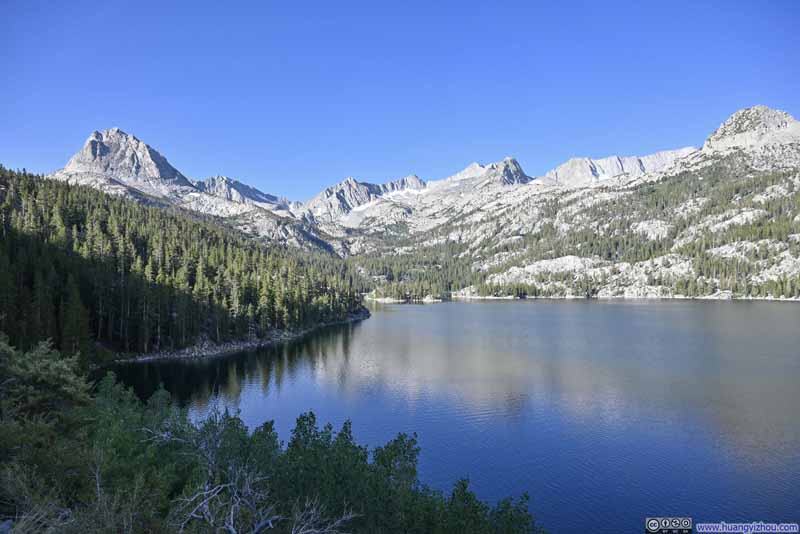
First, we were accompanied by the views of South Lake, the largest alpine lake of the day, as the trail went up a hill around it.

  • Mountains Surrounding South Lake
    Mountains Surrounding South Lake
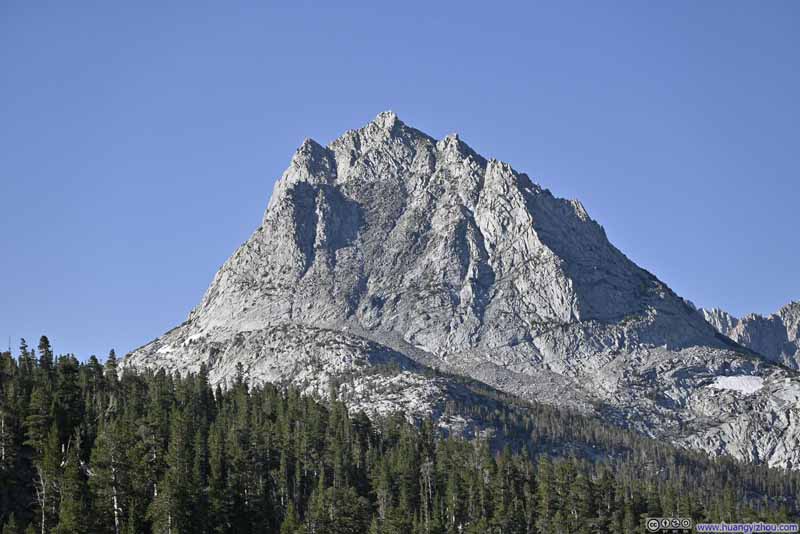
  • Hurd Peak
    Hurd Peak
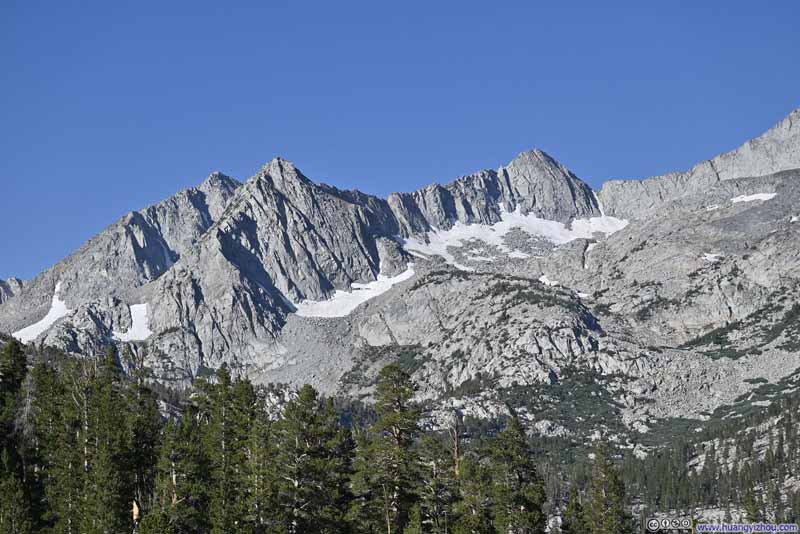
  • Mount Johnson
    Mount Johnson
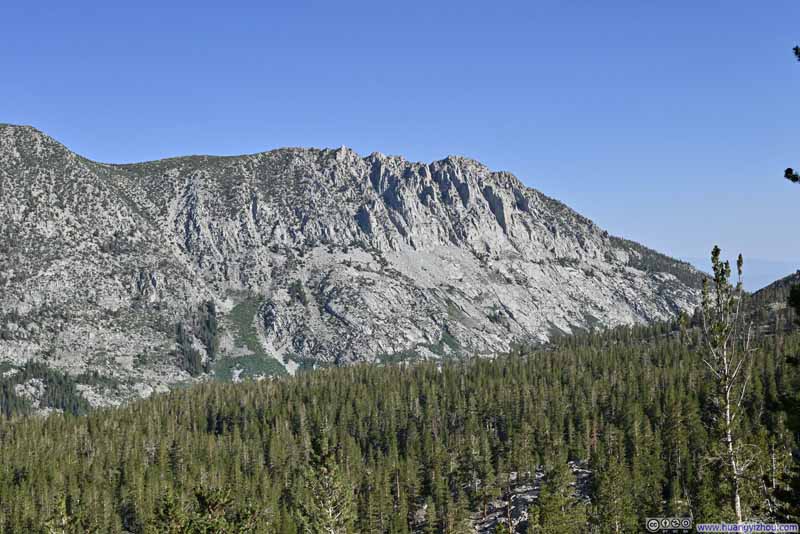
  • Mountains across South Fork Bishop Creek Valley
    Mountains across South Fork Bishop Creek Valley
  • Trail
    Trail
  • Mountains Surrounding South Lake
  • Hurd Peak
  • Mount Johnson
  • Mountains across South Fork Bishop Creek Valley
  • Trail

Click here to display photos of the slideshow
Mountains Surrounding South Lake


Mountains Surrounding South Lake

Hurd Peak


Hurd Peak

Mount Johnson


Mount Johnson

Mountains across South Fork Bishop Creek Valley


Mountains across South Fork Bishop Creek Valley

Trail


Trail


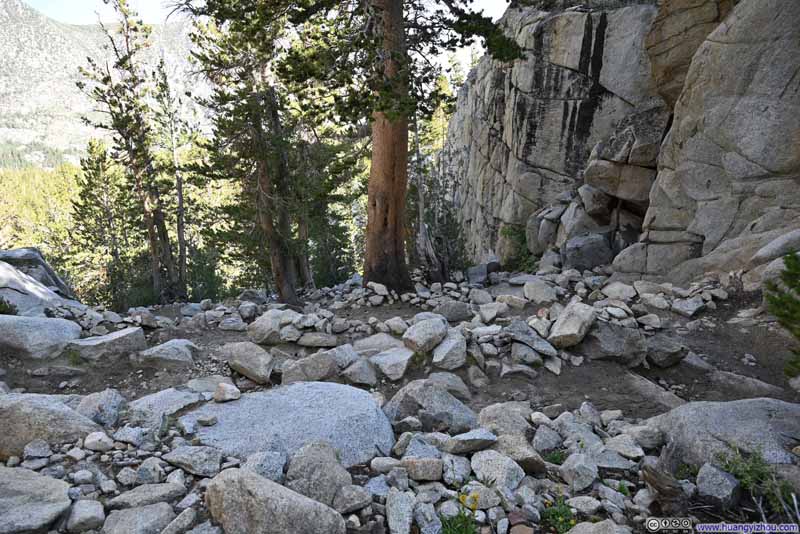
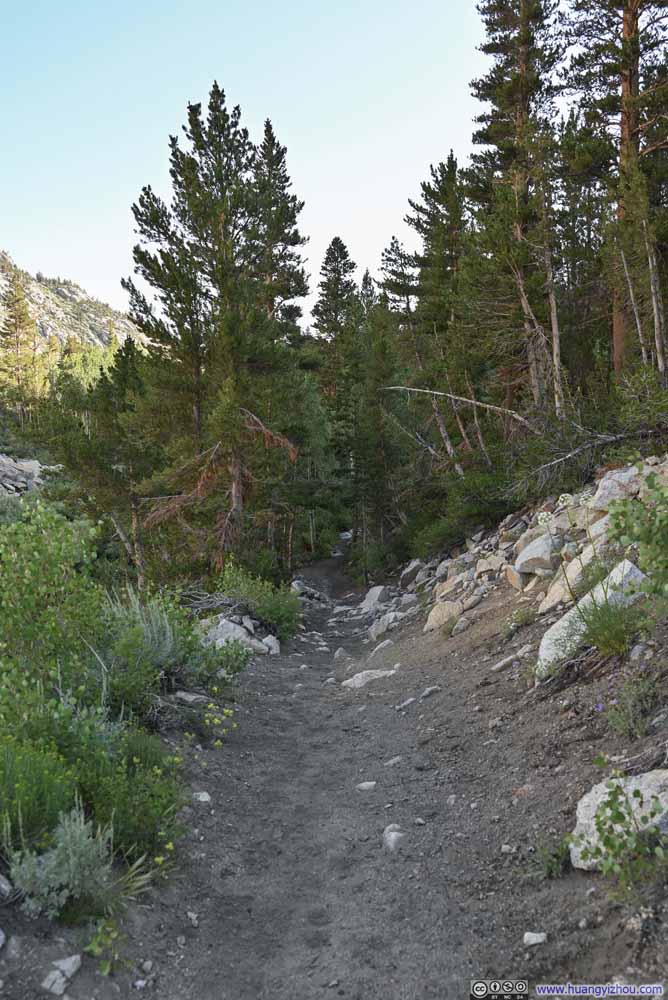
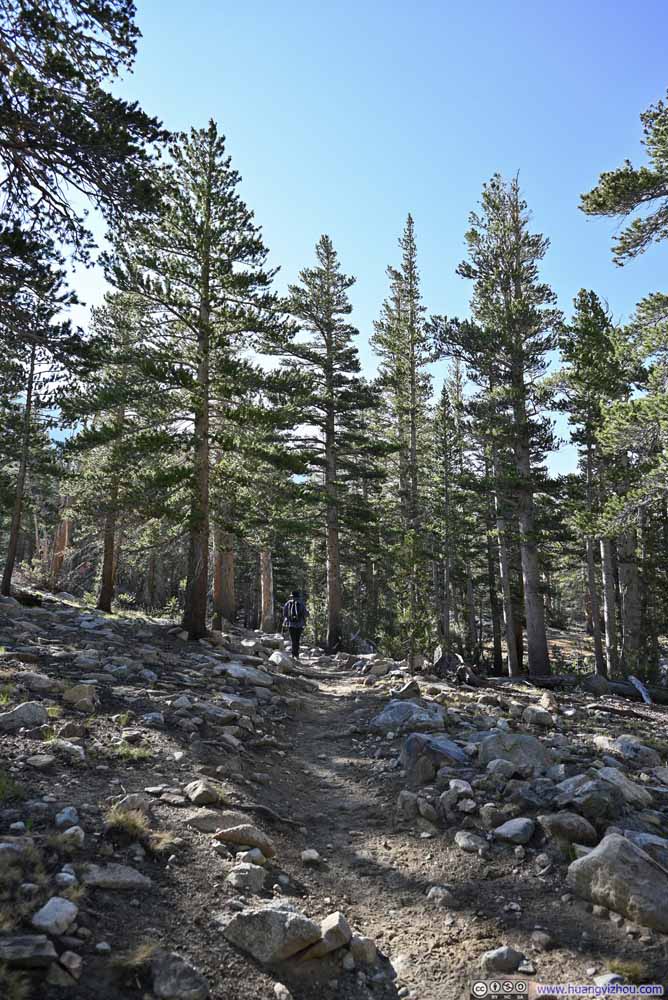
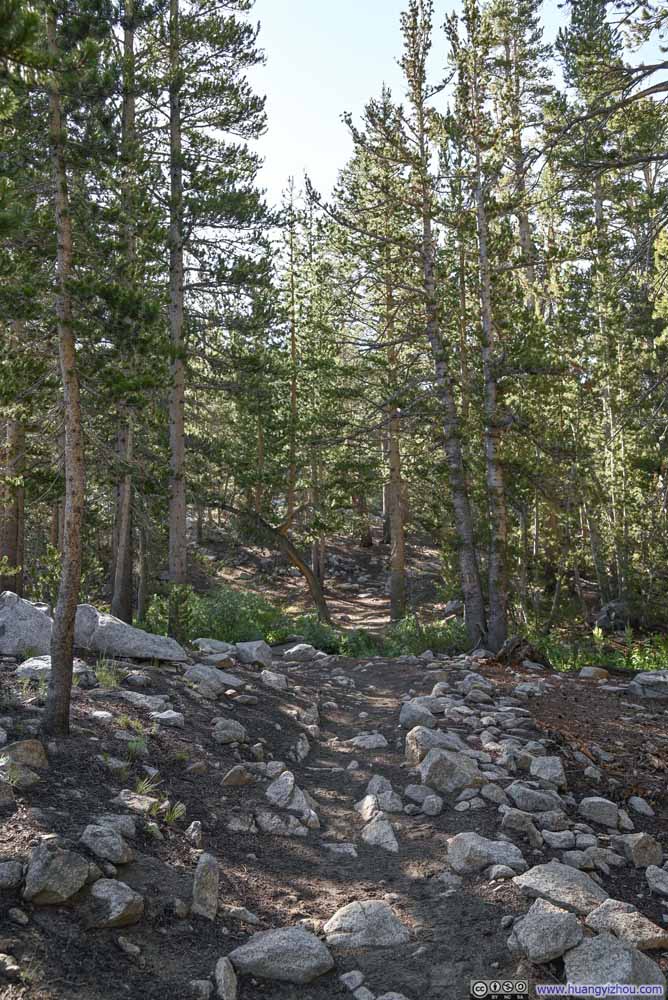
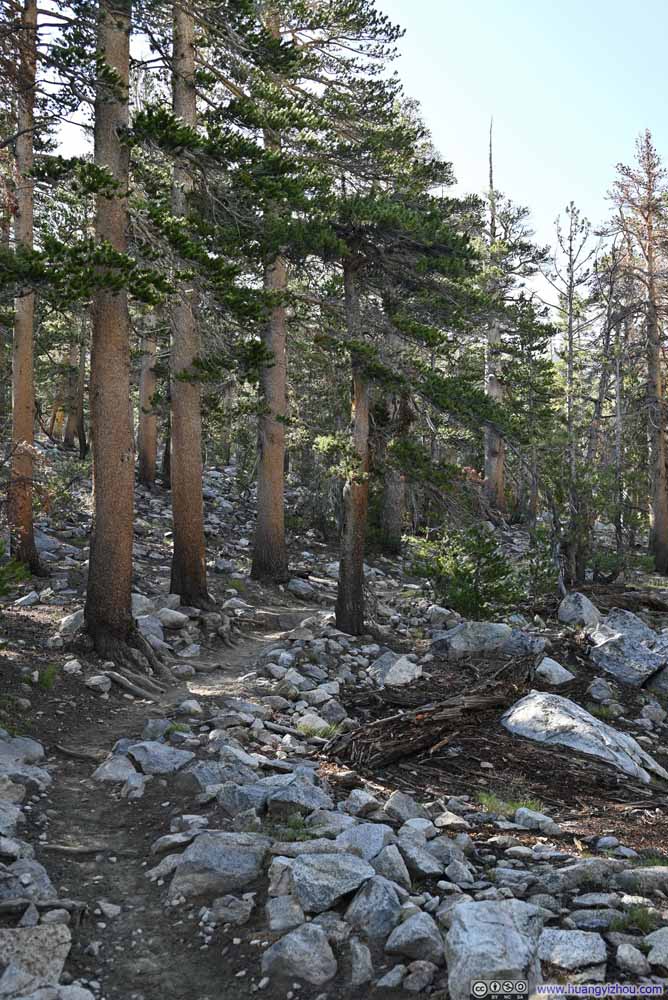
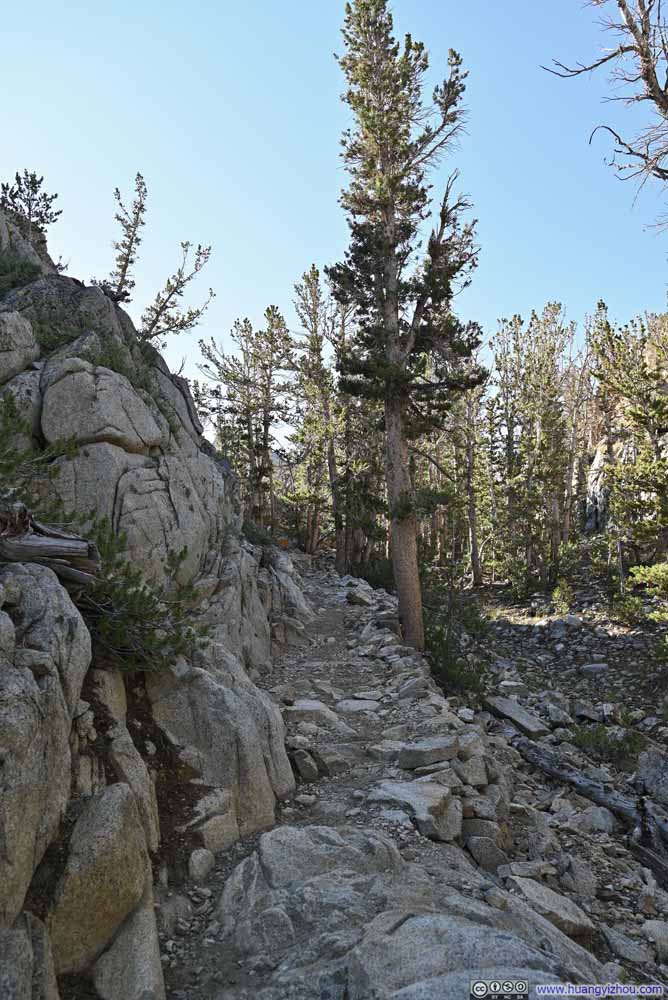
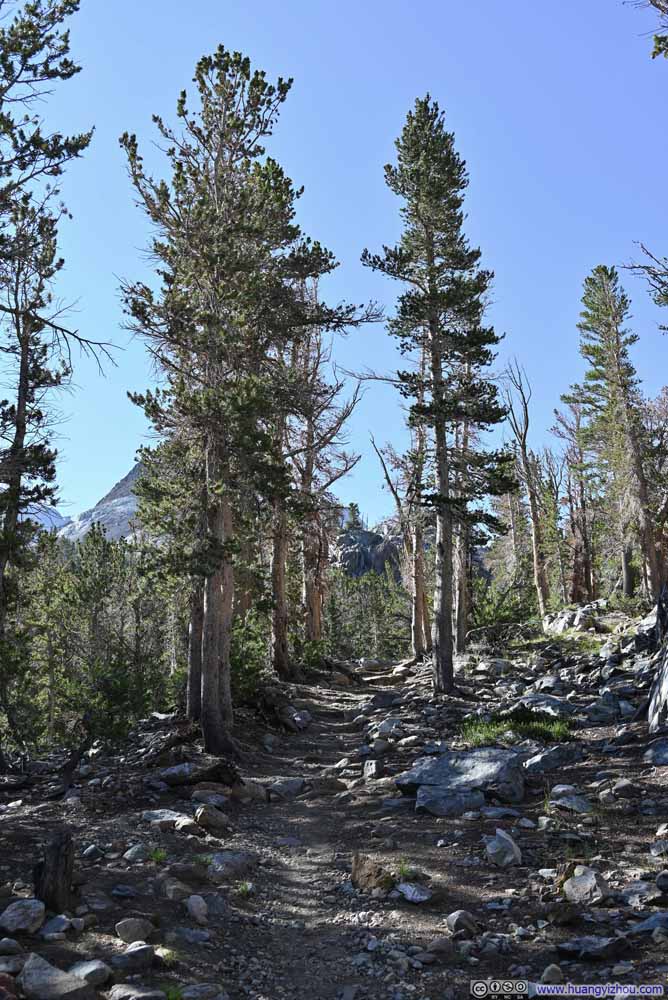
About 2.9km (1.8mi) from trailhead, the trail to Cloudripper took a left turn and left the main trail to Bishop Pass.

  • Trail
    Trail
  • Trail
    Trail
  • Trail
    Trail
  • Trail
    Trail
  • Trail
    Trail
  • Trail
    Trail
  • Trail
  • Trail
  • Trail
  • Trail
  • Trail
  • Trail

Click here to display photos of the trail.
Trail


Trail

Trail


Trail

Trail


Trail

Trail


Trail

Trail


Trail

Trail


Trail


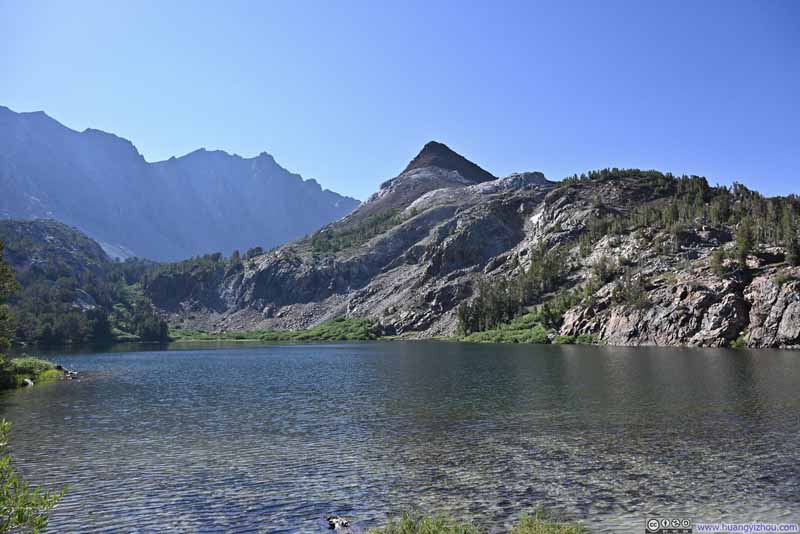
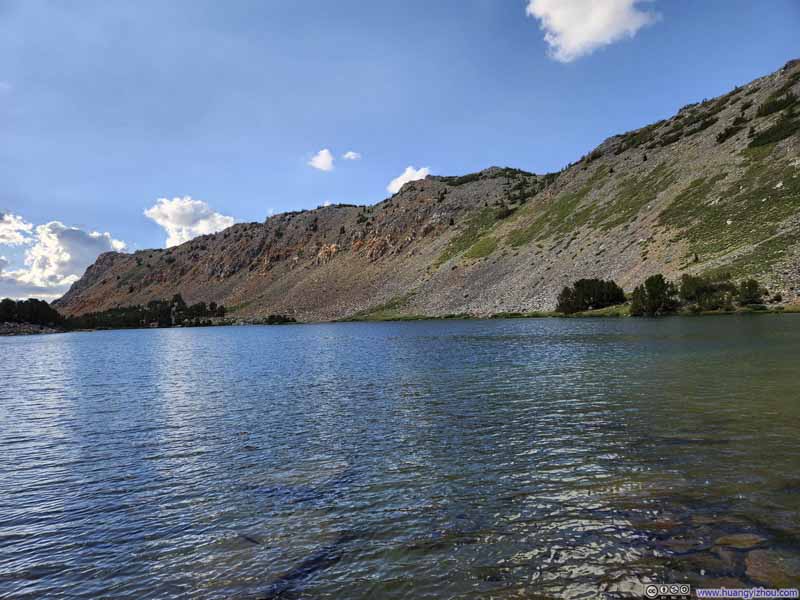
After that, the trail passed by a few alpine lakes. First, it’s Bull Lake, one of the larger ones.

  • Bull Lake
    Bull Lake
    Chocolate Peak directly over the lake, Cloudripper in the background.
  • Hurd Peak over Bull Lake
    Hurd Peak over Bull Lake
  • Mountains from Bull Lake
    Mountains from Bull Lake
  • Overlooking Bull Lake and Surrounding Mountains
    Overlooking Bull Lake and Surrounding Mountains
  • Bull Lake
  • Hurd Peak over Bull Lake
  • Mountains from Bull Lake
  • Overlooking Bull Lake and Surrounding Mountains

Click here to display photos of the slideshow
Bull Lake


Bull Lake
Chocolate Peak directly over the lake, Cloudripper in the background.

Hurd Peak over Bull Lake


Hurd Peak over Bull Lake

Mountains from Bull Lake


Mountains from Bull Lake

Overlooking Bull Lake and Surrounding Mountains


Overlooking Bull Lake and Surrounding Mountains


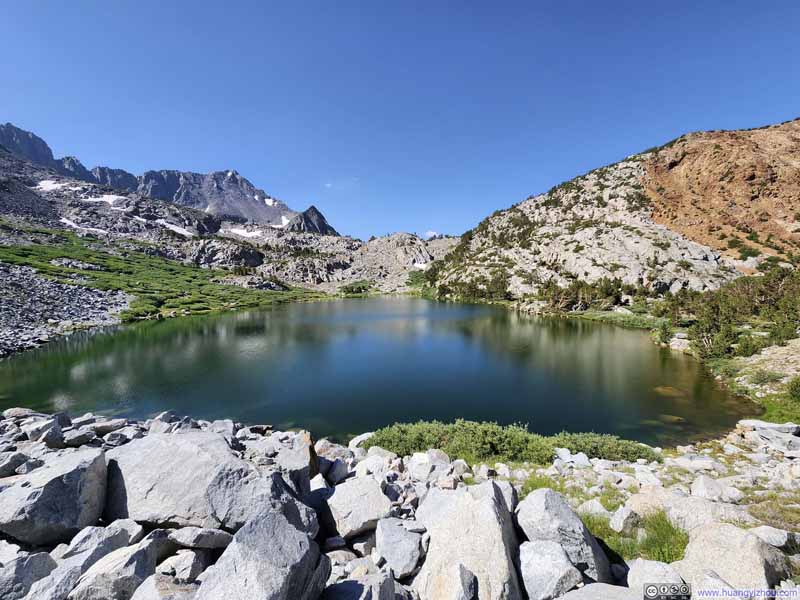
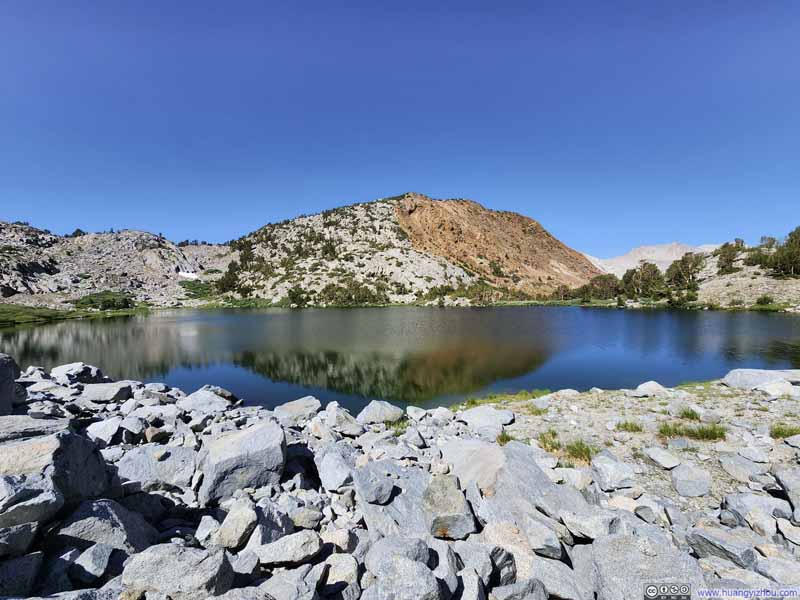
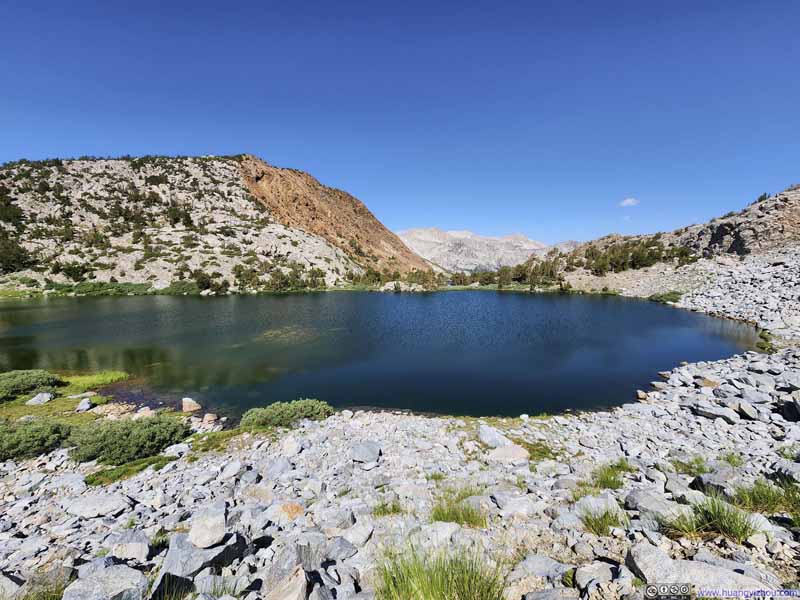
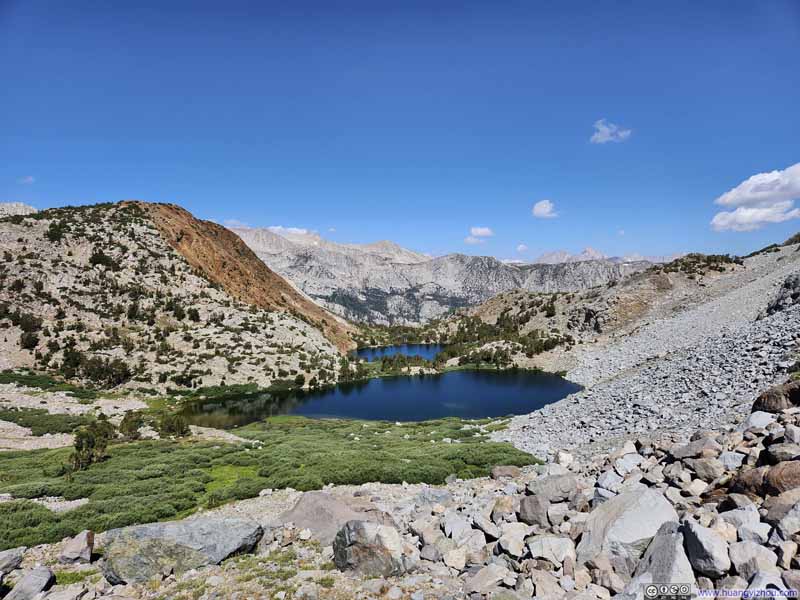
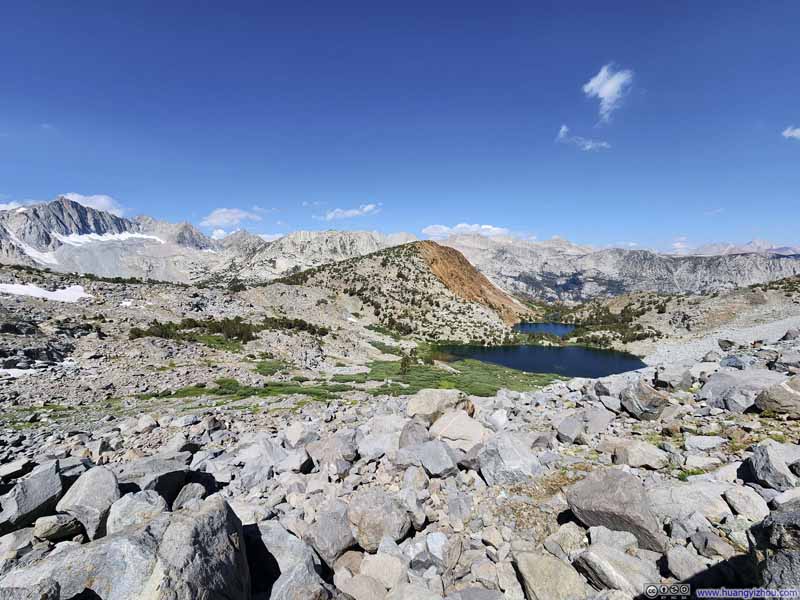
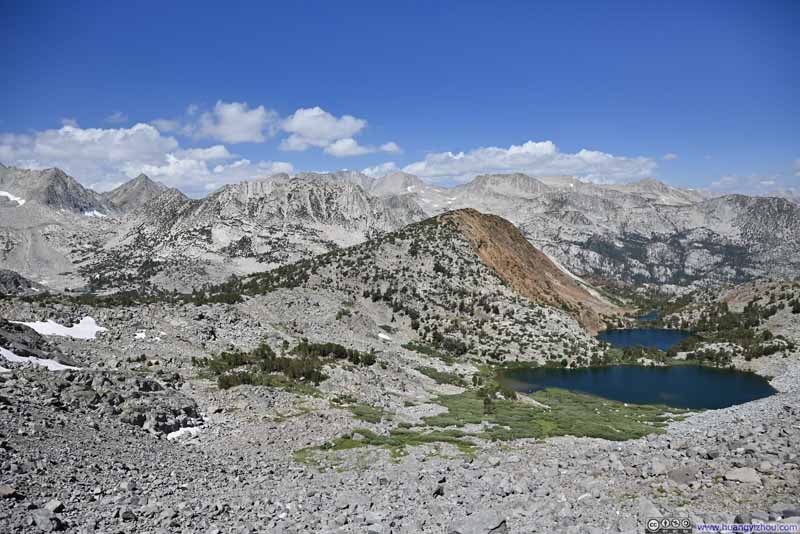
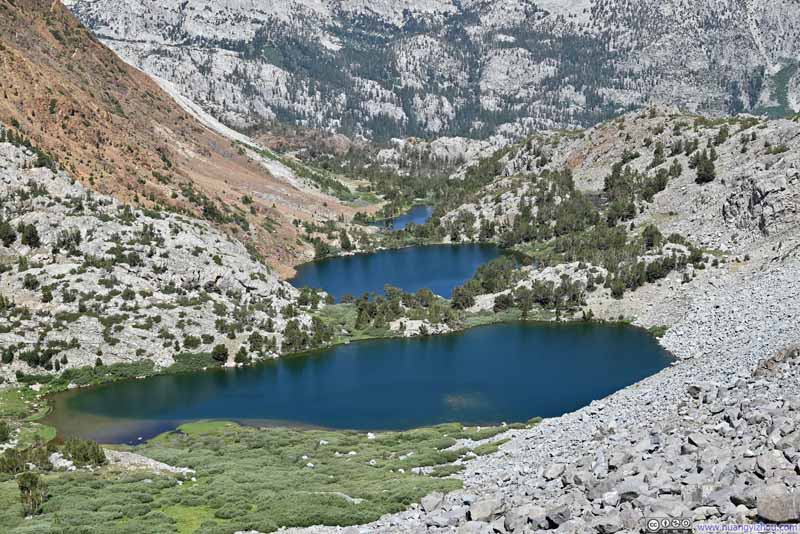
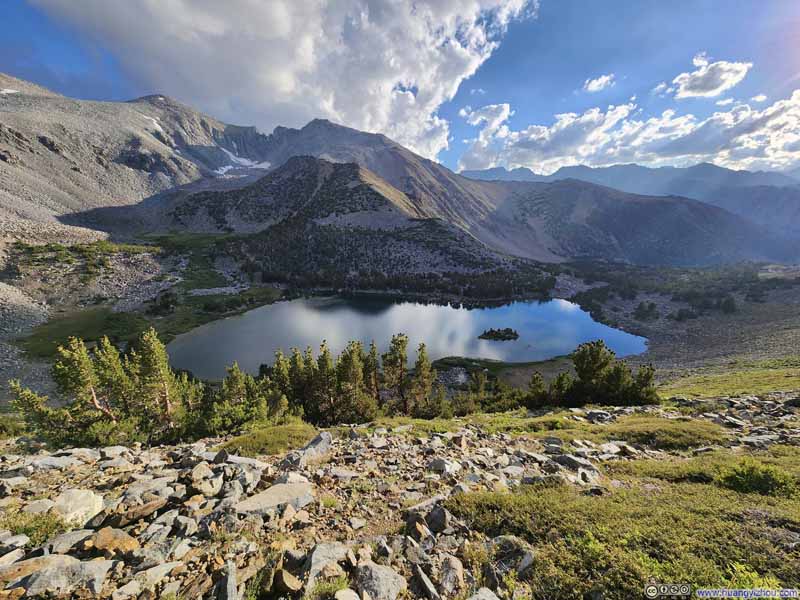
Then it’s Chocolate Lakes. On the map, this was a group of three lakes, named after Chocolate Peak. And Chocolate Peak, shaped like a Hershey kisses, possibly named for its brown color.

  • Cloudripper
    Cloudripper
  • Chocolate Lakes
    Chocolate Lakes
  • Overlooking one of Chocolate Lakes
    Overlooking one of Chocolate Lakes
  • Chocolate Lakes
    Chocolate Lakes
    Picture Puzzle Peak in the background.
  • Cloudripper over Chocolate Lakes
    Cloudripper over Chocolate Lakes
  • Cloudripper
  • Chocolate Lakes
  • Overlooking one of Chocolate Lakes
  • Chocolate Lakes
  • Cloudripper over Chocolate Lakes

Click here to display photos of the slideshow
Cloudripper


Cloudripper

Chocolate Lakes


Chocolate Lakes

Overlooking one of Chocolate Lakes


Overlooking one of Chocolate Lakes

Chocolate Lakes


Chocolate Lakes
Picture Puzzle Peak in the background.

Cloudripper over Chocolate Lakes


Cloudripper over Chocolate Lakes


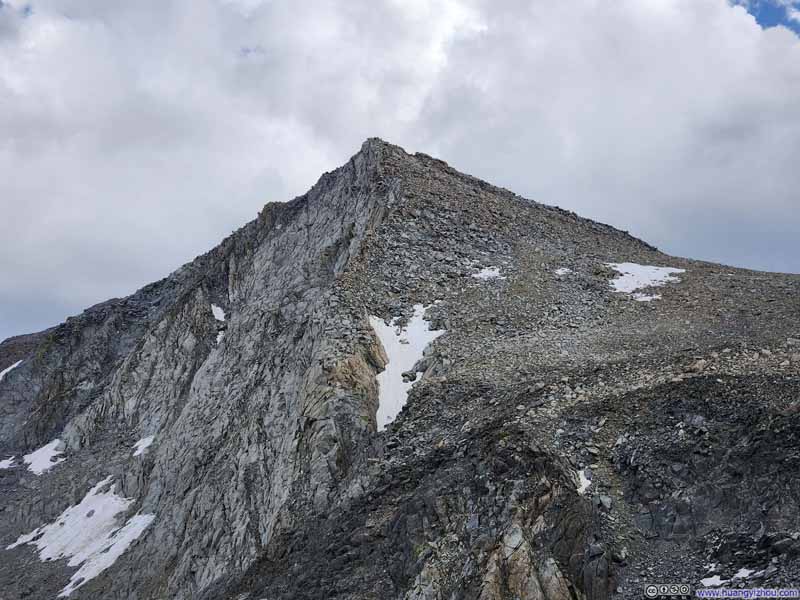
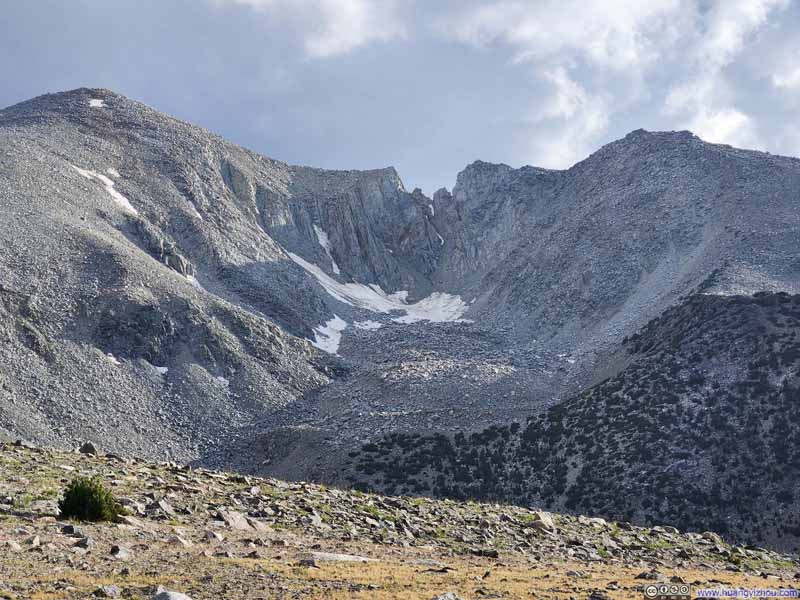
West Chute of Cloudripper


West Chute of Cloudripper

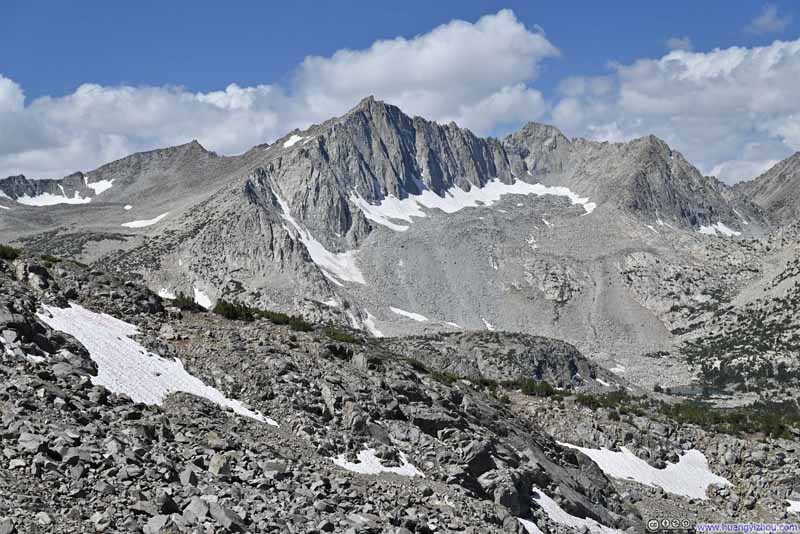
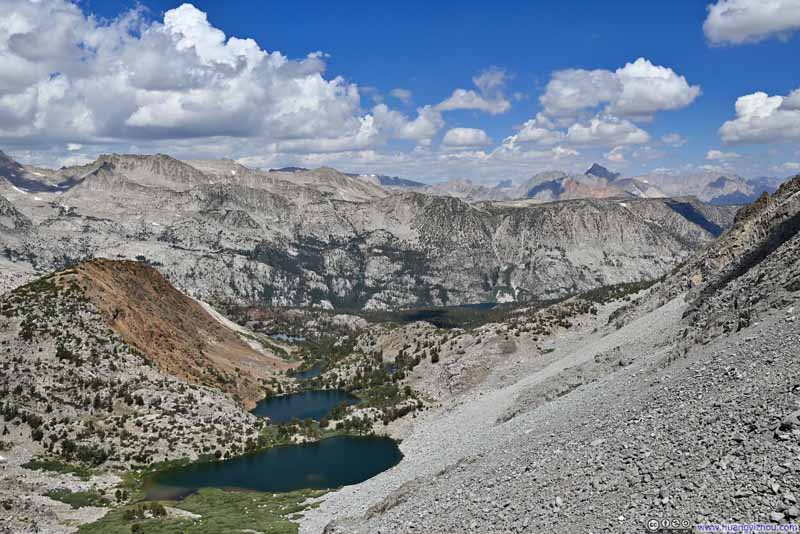
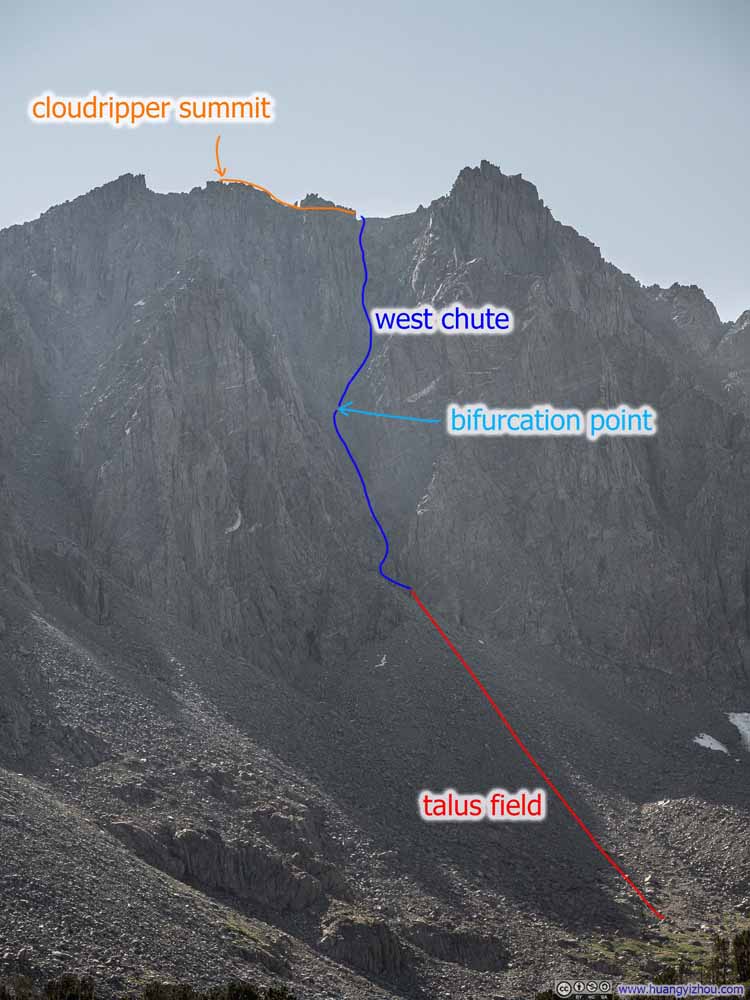
From the shores of these alpine lakes we caught the first sight of Cloudripper for the day. The Inconsolable Range, which Cloudripper was a part of, was like a wall that stood imposingly in front of us. As we admired its steepness, we also picked out its West Chute (as outlined in this photo), which was the route we were about to take.

To reach the base of Cloudripper’s West Chute, one should leave the trail about 1/3 of the way between the second Chocolate Lake and the third one, then circumvent the third Chocolate Lake along its north shore. We went all the way to the shore of the third lake and had to backtrack.

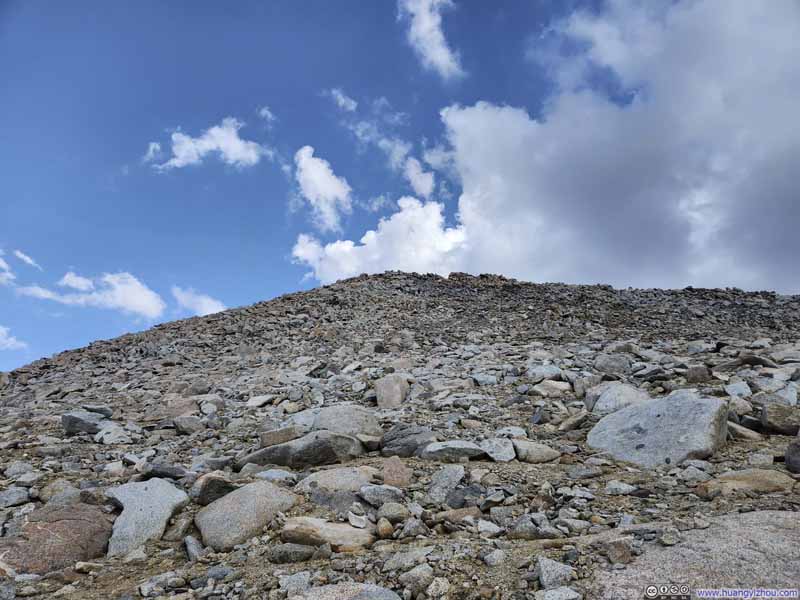
Not long after leaving the established trail we went on a talus field next to the third Chocolate Lake, which continued all the way to the base of West Chute. The vivid colors in view while circumventing the third Chocolate Lake brought constant refreshments to an otherwise somewhat tedious rock hopping trip.

  • Chocolate Lakes
    Chocolate Lakes
  • Chocolate Peak and Lakes
    Chocolate Peak and Lakes
  • Chocolate Peak and Lakes
    Chocolate Peak and Lakes
  • Chocolate Peak and Lakes
    Chocolate Peak and Lakes
  • Chocolate Peak and Surrounding Mountains
    Chocolate Peak and Surrounding Mountains
  • Chocolate Lakes
  • Chocolate Peak and Lakes
  • Chocolate Peak and Lakes
  • Chocolate Peak and Lakes
  • Chocolate Peak and Surrounding Mountains

Click here to display photos of the slideshow
Chocolate Lakes


Chocolate Lakes

Chocolate Peak and Lakes


Chocolate Peak and Lakes

Chocolate Peak and Surrounding Mountains


Chocolate Peak and Surrounding Mountains


While rock hopping along the third Chocolate Lake, one should aim for the bottom of Cloudripper’s West Chute and start gaining elevation accordingly. From here on, it’s a grueling battle with gravity to reach the top of West Chute. For reference, including all rests, it took us 3.5 hours from leaving the third Chocolate Lake to reaching the top of West Chute.

  • Mount Goode
    Mount Goode
  • Chocolate Peak and Surrounding Mountains
    Chocolate Peak and Surrounding Mountains
  • Chocolate Lakes
    Chocolate Lakes
  • Chocolate Lakes and Distant Mountains
    Chocolate Lakes and Distant Mountains
  • Boulders and Talus along Cloudripper's Western Face
    Boulders and Talus along Cloudripper’s Western Face
  • Approaching Cloudripper's West Chute
    Approaching Cloudripper’s West Chute
  • Mount Goode
  • Chocolate Peak and Surrounding Mountains
  • Chocolate Lakes
  • Chocolate Lakes and Distant Mountains
  • Boulders and Talus along Cloudripper's Western Face
  • Approaching Cloudripper's West Chute

Click here to display photos of the slideshow
Mount Goode


Mount Goode

Chocolate Peak and Surrounding Mountains


Chocolate Peak and Surrounding Mountains

Chocolate Lakes


Chocolate Lakes

Chocolate Lakes and Distant Mountains


Chocolate Lakes and Distant Mountains

Boulders and Talus along Cloudripper's Western Face


Boulders and Talus along Cloudripper’s Western Face

Approaching Cloudripper's West Chute


Approaching Cloudripper’s West Chute


The proper climbing began once we reached the top of the talus field, and the beginning of Cloudripper’s West Chute. There was a proper YDS class 3 move at the beginning of West Chute, a good spot check to make sure people are up the challenge later on.

For reference, I used a helmet-mounted GoPro to record my entire climb from the bottom of West Chute to Cloudripper’s summit. Below is a YouTube embedded video:

And if people prefer an ad-free version, here’s the same video hosted on my server:

1 hour and 36 minutes, 2160p30fps, H265 only, compressed aggressively to 10Mbps for file size of 7.4GB.
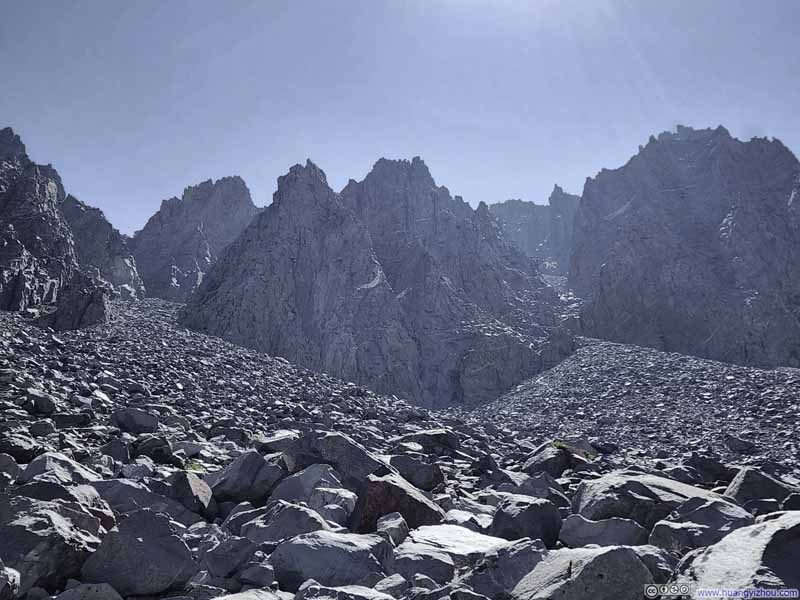
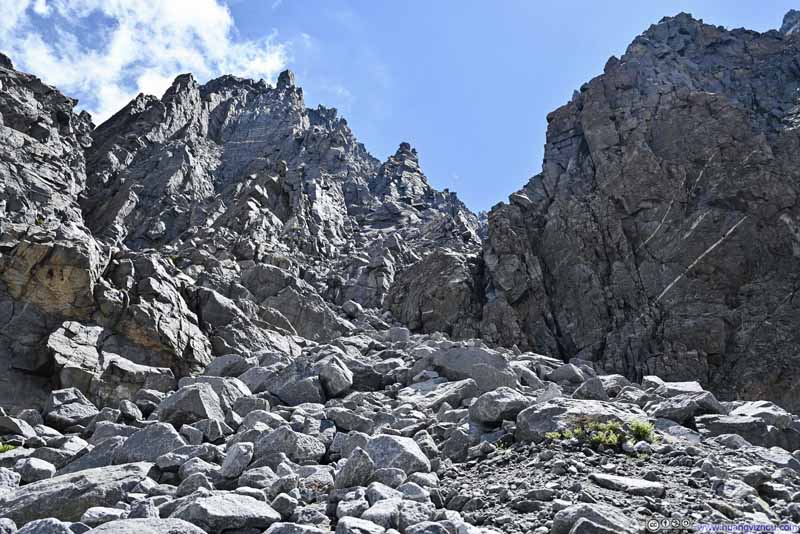
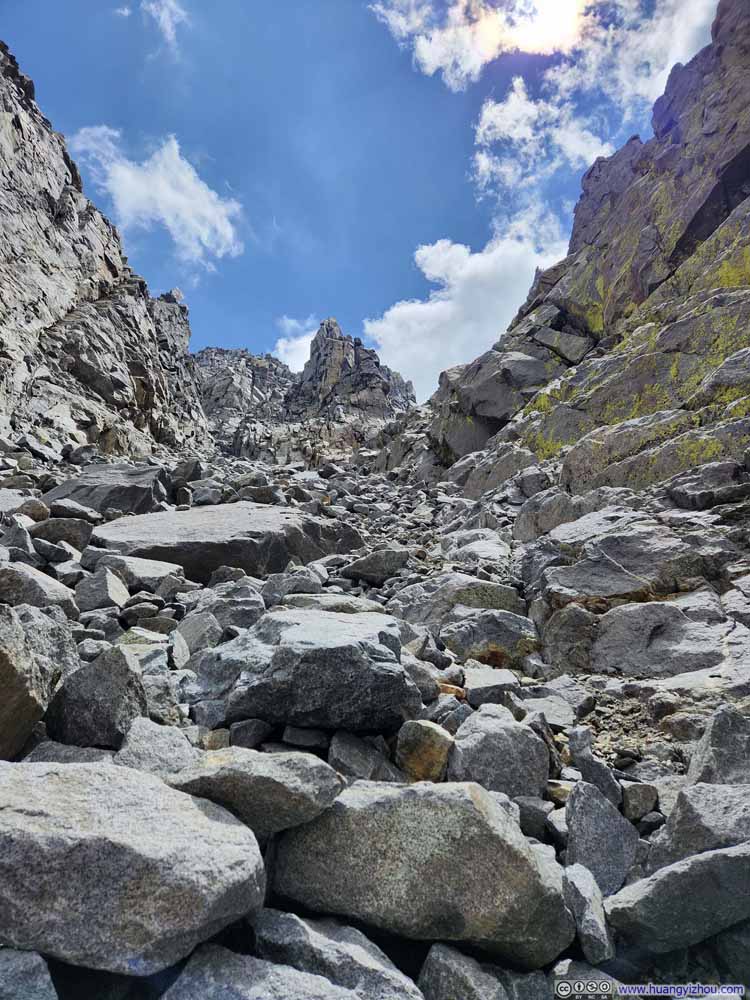
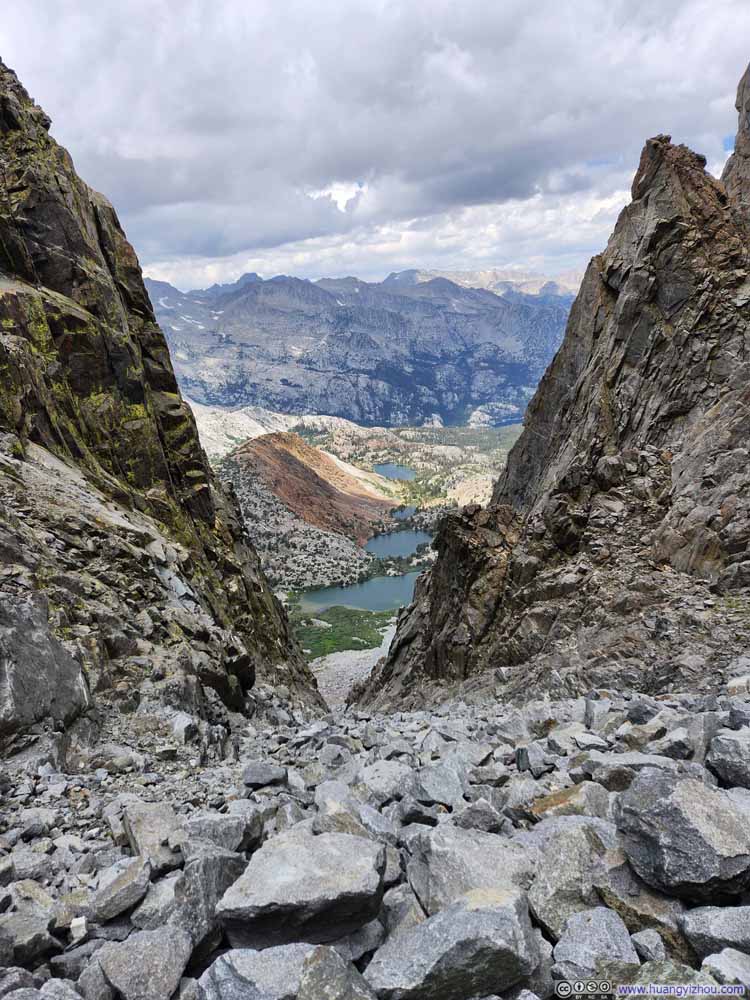
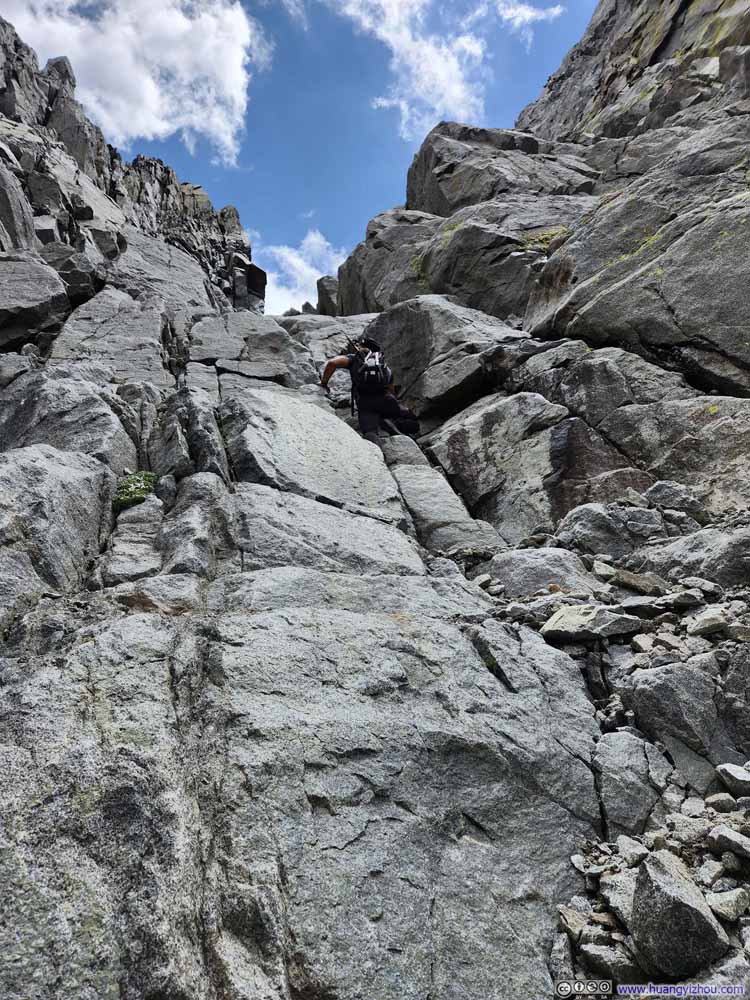
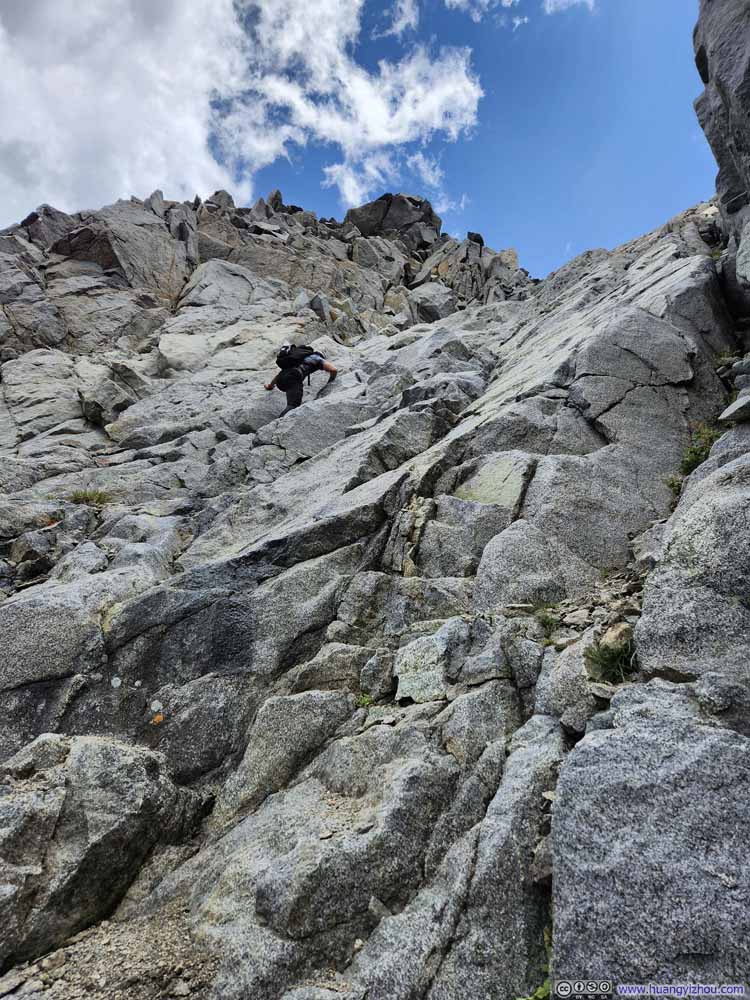
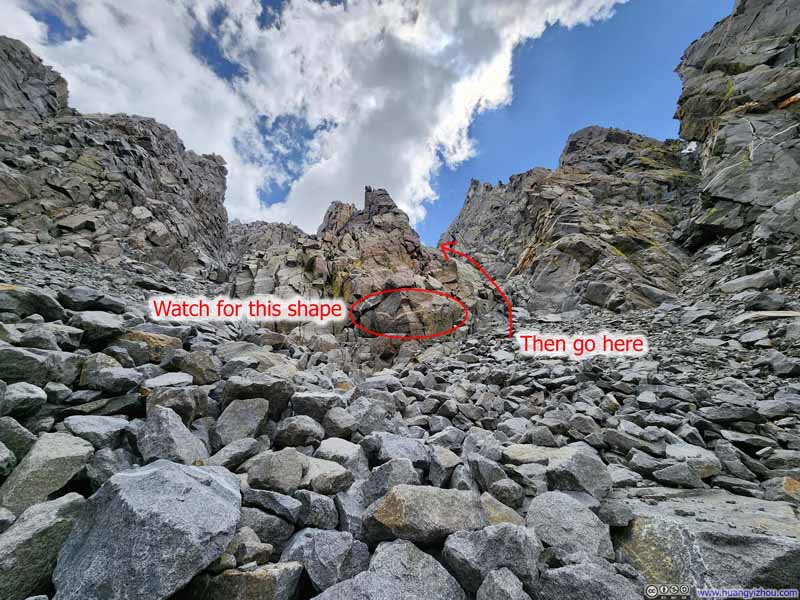
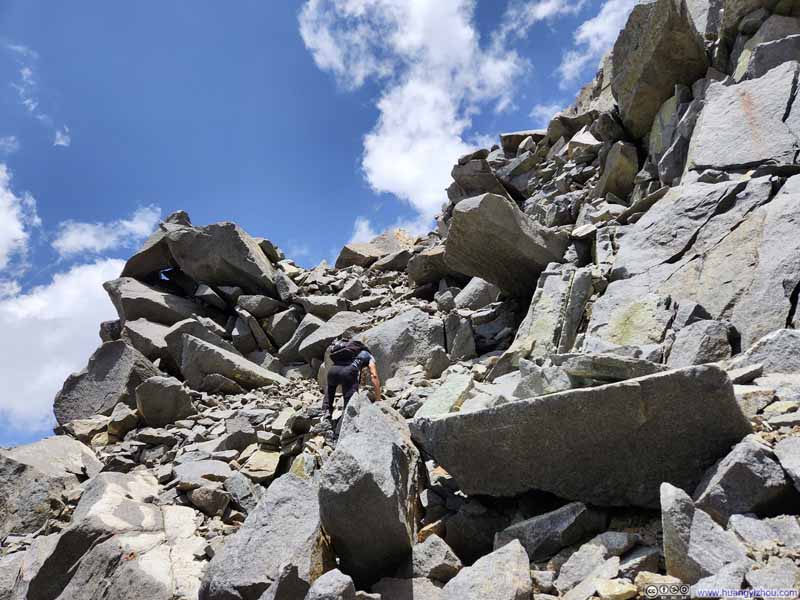
In my opinion, Cloudripper’s West Chute could be broken into two parts. The first half (p1-3 below) was largely made of talus, and was not as technically difficult. After the bifurcation point, rocks were larger in size and became more integral to the mountain, and there were a few technical moves.

  • West Chute of Cloudripper
    West Chute of Cloudripper
  • West Chute of Cloudripper
    West Chute of Cloudripper
  • West Chute of Cloudripper
    West Chute of Cloudripper
  • Climbing Cloudripper's West Chute
    Climbing Cloudripper’s West Chute
  • Climbing Cloudripper's West Chute
    Climbing Cloudripper’s West Chute
  • West Chute of Cloudripper
  • West Chute of Cloudripper
  • West Chute of Cloudripper
  • Climbing Cloudripper's West Chute
  • Climbing Cloudripper's West Chute

Click here to display photos of the Cloudripper’s West Chute.
West Chute of Cloudripper


West Chute of Cloudripper

West Chute of Cloudripper


West Chute of Cloudripper

West Chute of Cloudripper


West Chute of Cloudripper

Climbing Cloudripper's West Chute


Climbing Cloudripper’s West Chute

Climbing Cloudripper's West Chute


Climbing Cloudripper’s West Chute


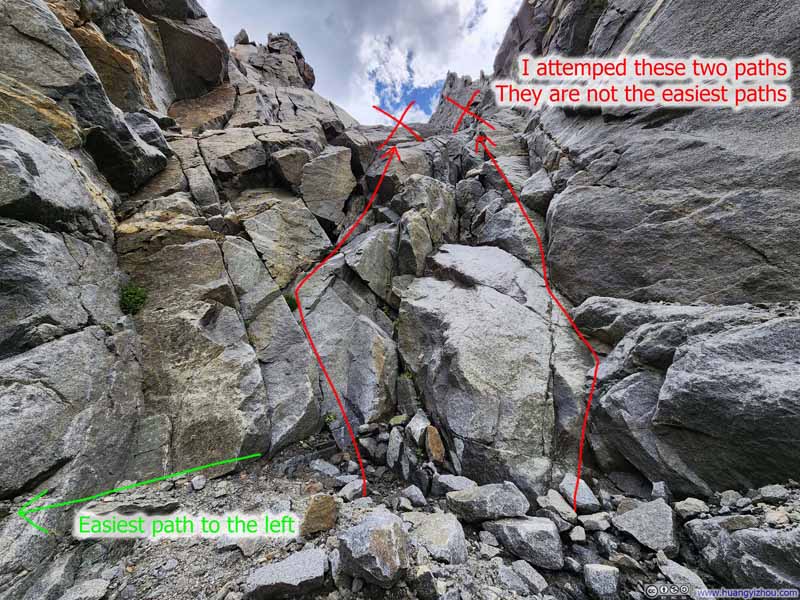
Below were photos from the bifurcation point. It’s important that one continues on the correct chute (on the right, p1 below) to remain in YDS class 3. Otherwise, things could easily get out of hand.
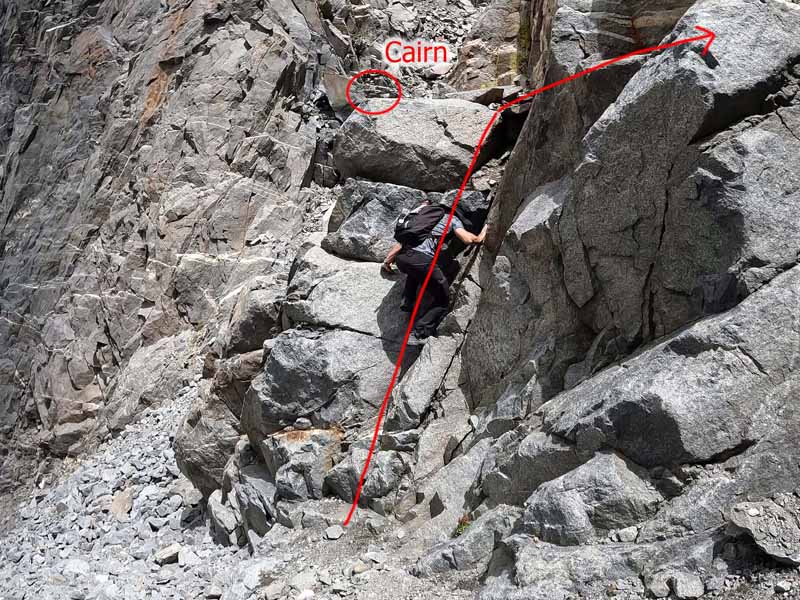
Immediately after we picked the correct bifurcation on the right, there was a steep wall blocking our way (p2 below). There didn’t seem to be good handholds and footholds on that wall. I gave it a shot but things weren’t looking great, until my friend pointed to a better path on the left (p3 below), which was marked by a cairn.

  • Bifurcation of Paths along Cloudripper's West Chute
    Bifurcation of Paths along Cloudripper’s West Chute
  • Steep Section after Bifurcation
    Steep Section after Bifurcation
    Incorrect paths shown here, correct path to the left of this photo, outside the frame.
  • Correct Path
    Correct Path
    Shown here is the easiest path up this section, marked by a set of cairns.
  • Bifurcation of Paths along Cloudripper's West Chute
  • Steep Section after Bifurcation
  • Correct Path

Click here to display photos of the slideshow
Bifurcation of Paths along Cloudripper's West Chute


Bifurcation of Paths along Cloudripper’s West Chute

Steep Section after Bifurcation


Steep Section after Bifurcation
Incorrect paths shown here, correct path to the left of this photo, outside the frame.

Correct Path


Correct Path
Shown here is the easiest path up this section, marked by a set of cairns.


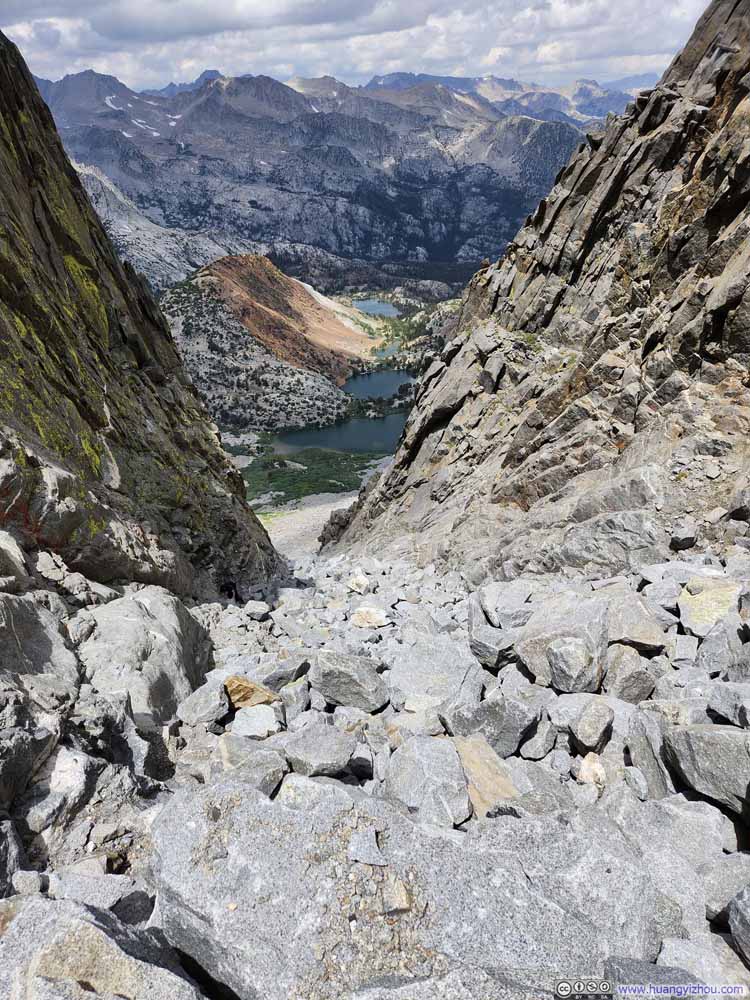
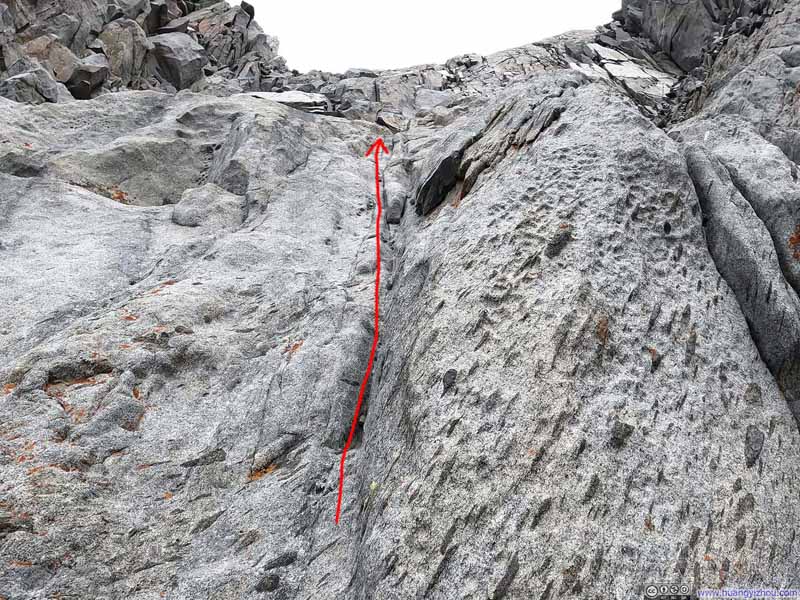
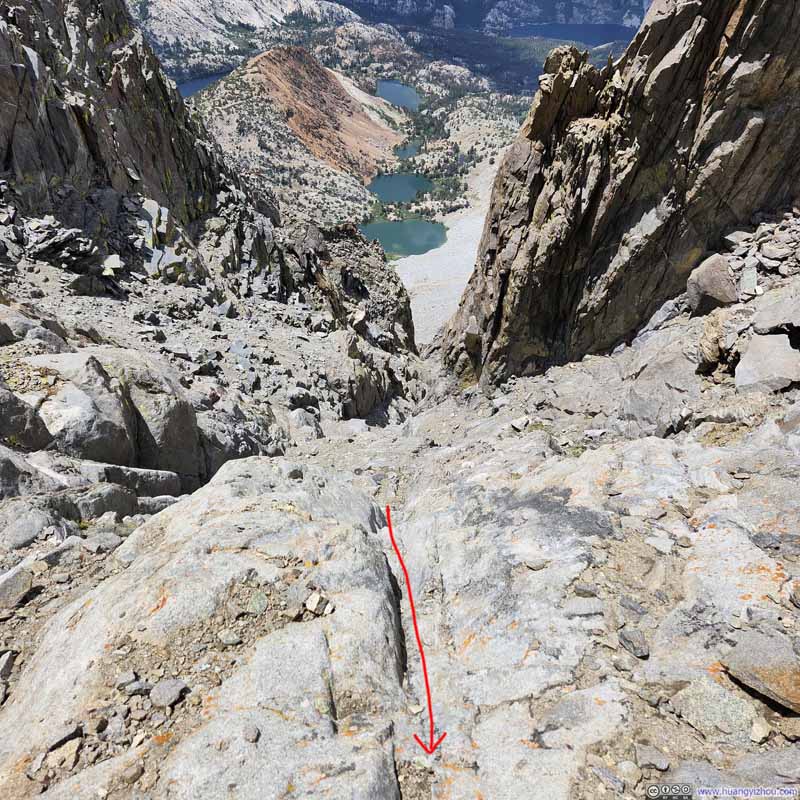
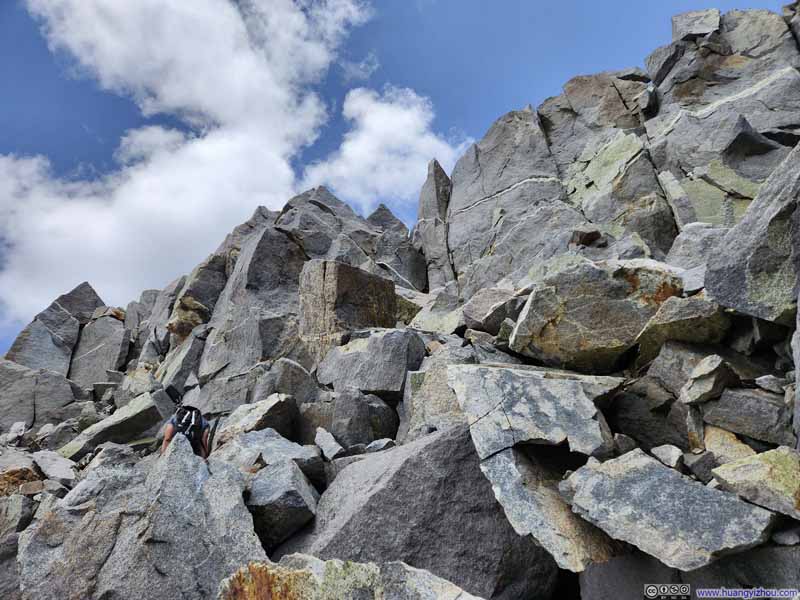
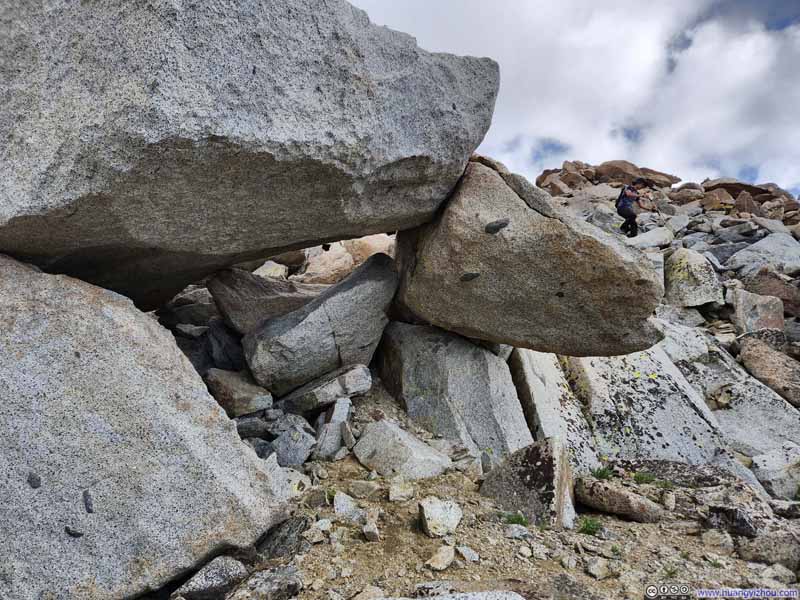
After the bifurcation, things seemed to get steeper and more technical the further up we went, including one section (photos below) where I pulled myself up a narrow opening that lacked good handholds and footholds. This was the only time throughout the entire trip, where I felt a sense of dread among what would otherwise be a thrilling adventure. (It didn’t look to me that there were alternative routes around, but I wish I was wrong though.)

  • West Chute of Cloudripper
    West Chute of Cloudripper
    This is in my opinion the most technical part of the route.
  • West Chute of Cloudripper
    West Chute of Cloudripper
    Overlooking what in my opinion is the most technical section.
  • West Chute of Cloudripper
  • West Chute of Cloudripper

Click here to display photos of the slideshow
West Chute of Cloudripper


West Chute of Cloudripper
This is in my opinion the most technical part of the route.

West Chute of Cloudripper


West Chute of Cloudripper
Overlooking what in my opinion is the most technical section.


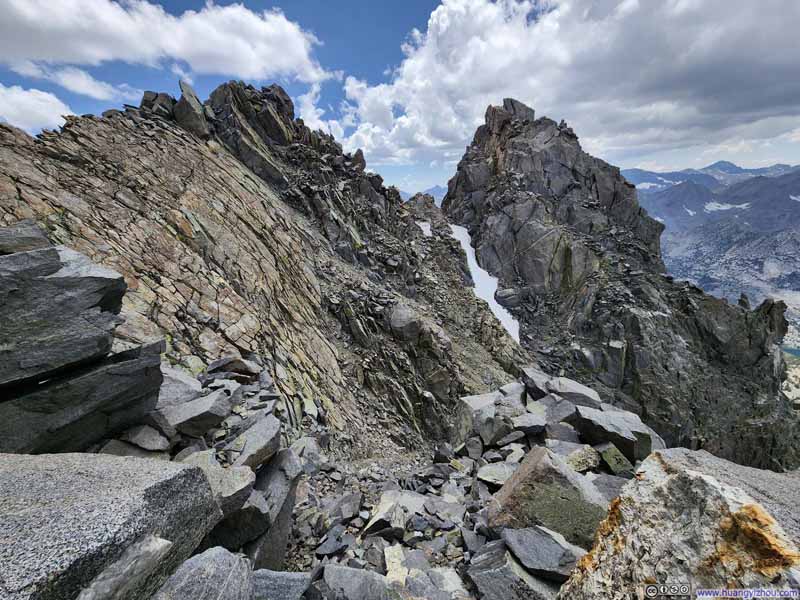
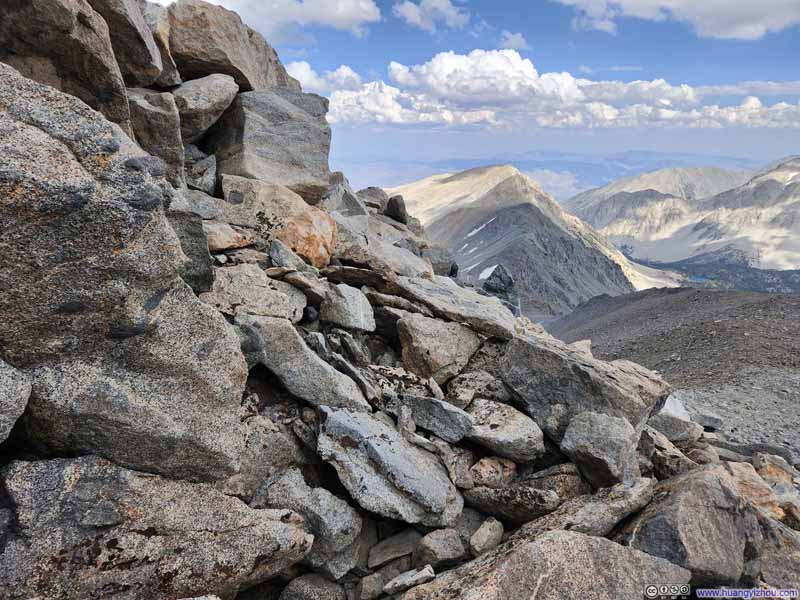
Once at the top of West Chute, the summit of Cloudripper was just a short walk away along a rugged ridgeline. Somewhere before the summit, one needed to cross the ridgeline from the west side to the east side to continue towards Cloudripper.

  • Climbing Cloudripper
    Climbing Cloudripper
    Near the top of West Chute
  • Path from Top of Cloudripper West Chute
    Path from Top of Cloudripper West Chute
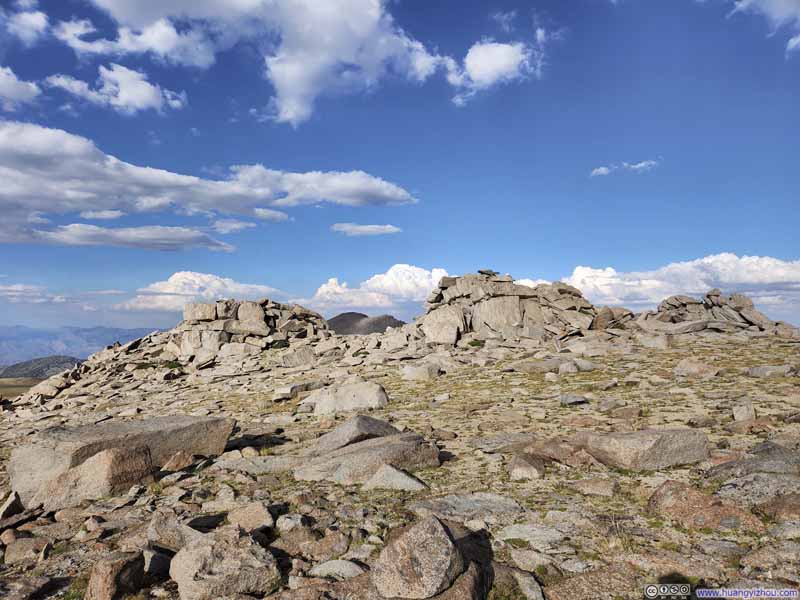
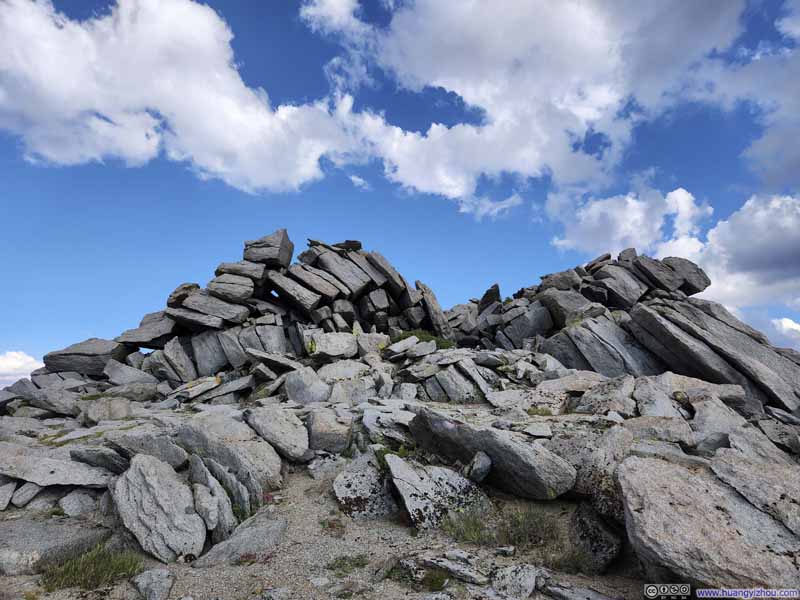
  • Boulders on Top of Cloudripper
    Boulders on Top of Cloudripper
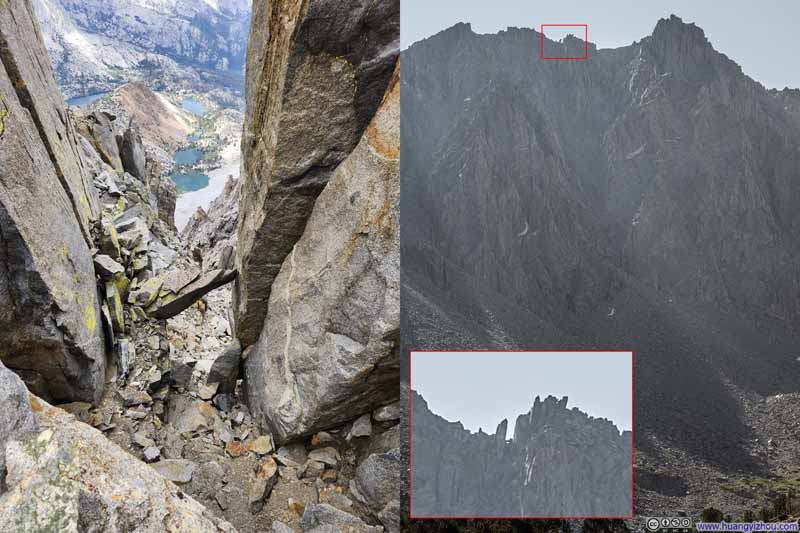
  • Narrow Gap
    Narrow Gap
    If one took the wrong path at the bifurcation, then it’s likely one had to ascend through this gap to reach Cloudripper. On the right is the same gap as taken earlier from the foot of Cloudripper.
  • Climbing Cloudripper
  • Path from Top of Cloudripper West Chute
  • Boulders on Top of Cloudripper
  • Narrow Gap

Click here to display photos of the slideshow
Climbing Cloudripper


Climbing Cloudripper
Near the top of West Chute

Path from Top of Cloudripper West Chute


Path from Top of Cloudripper West Chute

Boulders on Top of Cloudripper


Boulders on Top of Cloudripper

Narrow Gap


Narrow Gap

If one took the wrong path at the bifurcation, then it’s likely one had to ascend through this gap to reach Cloudripper. On the right is the same gap as taken earlier from the foot of Cloudripper.


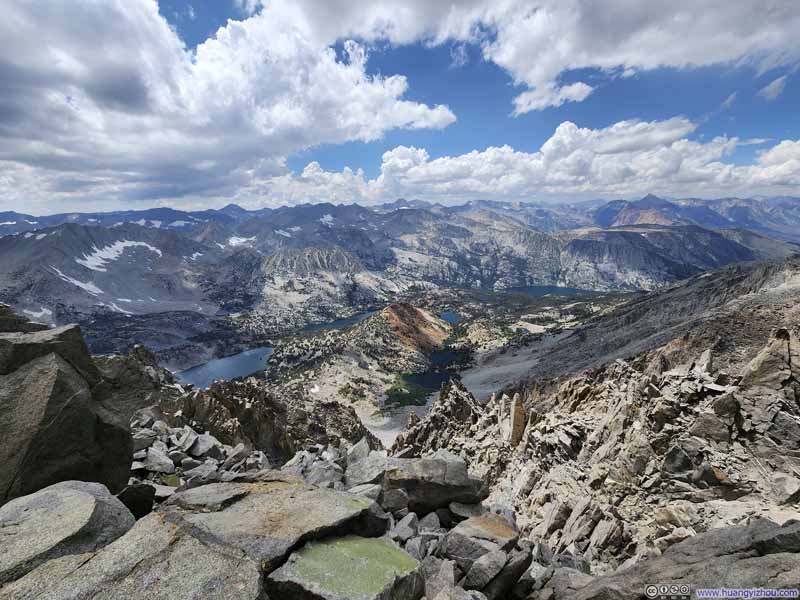
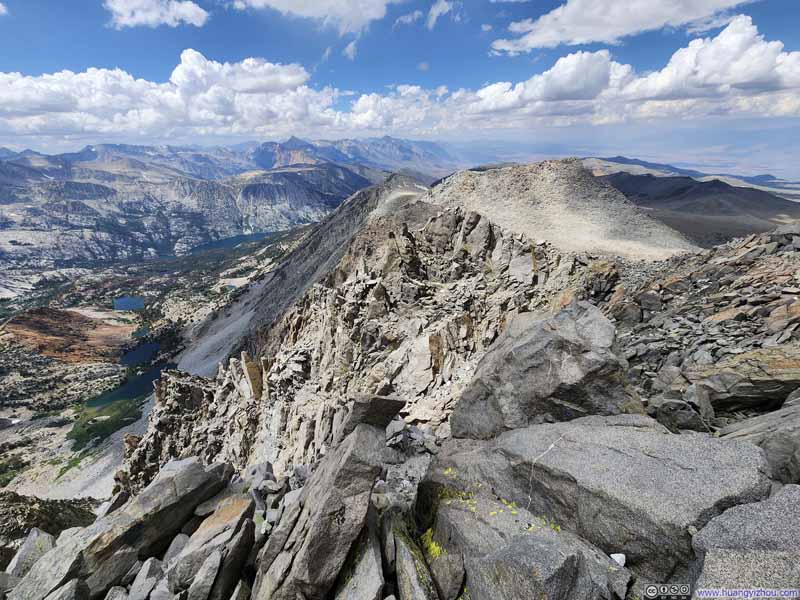
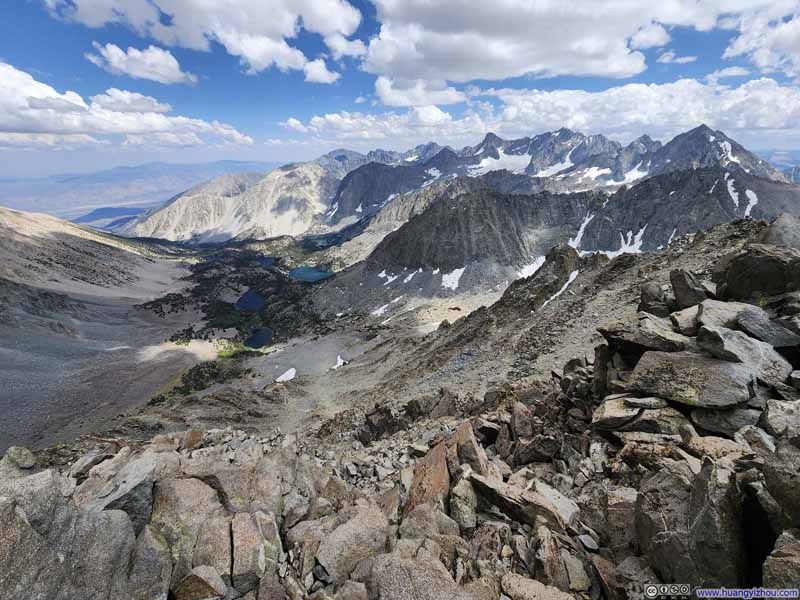
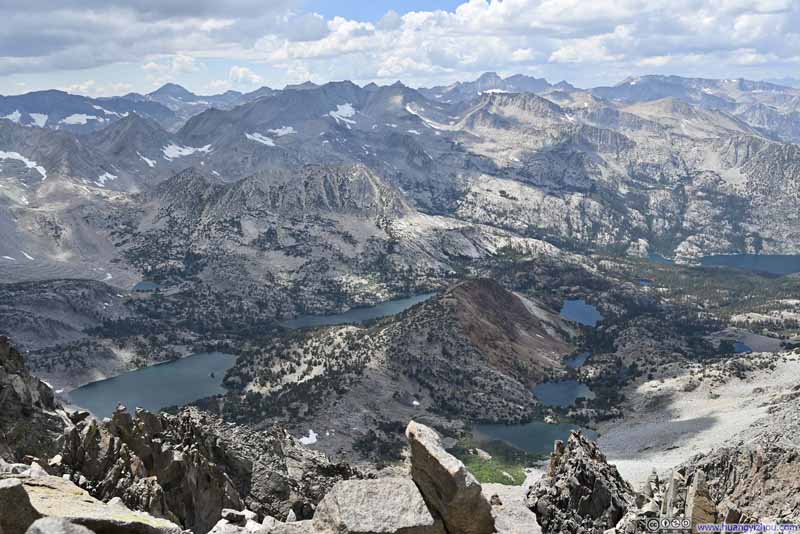
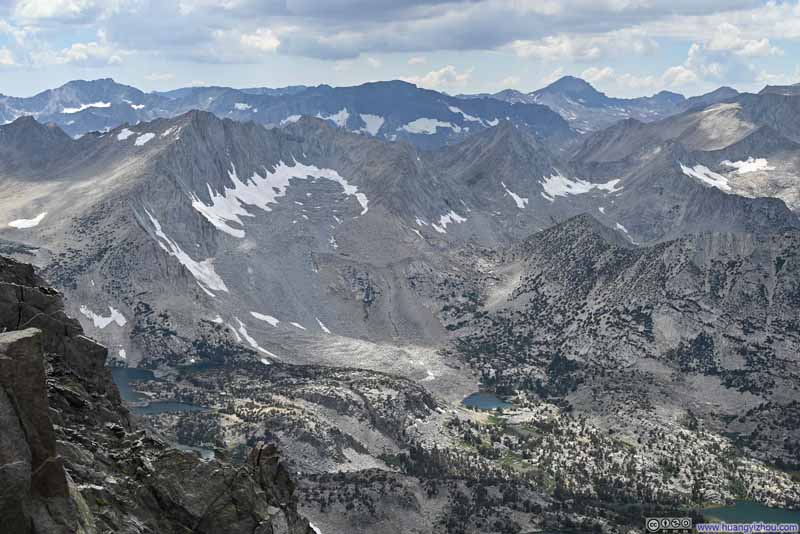
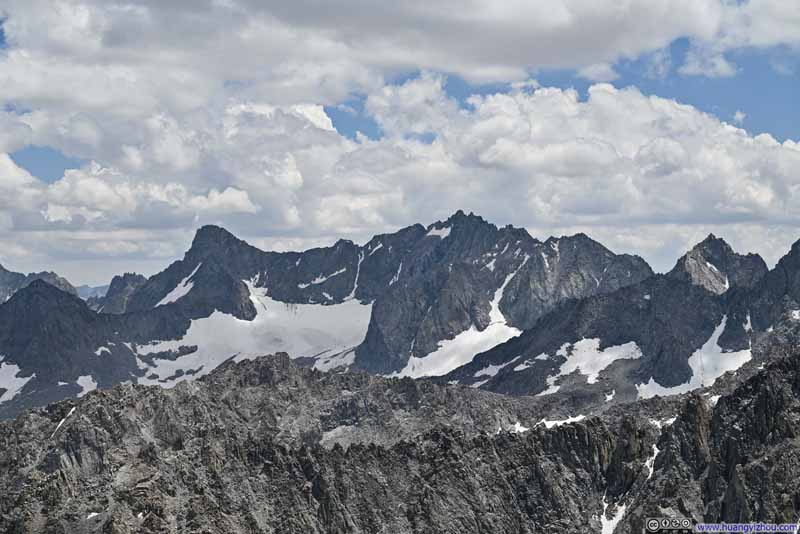
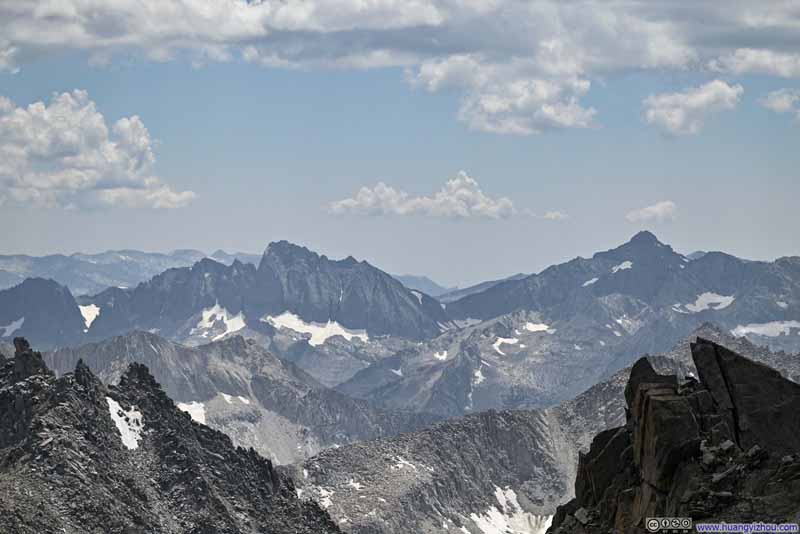
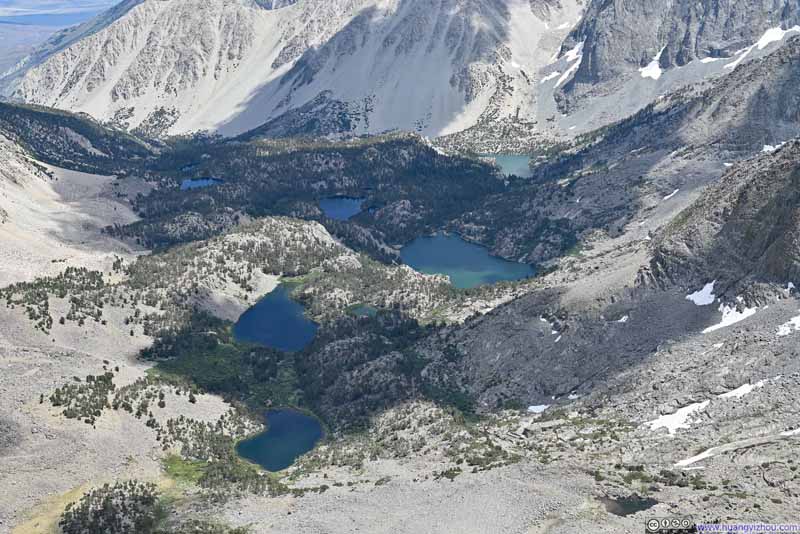
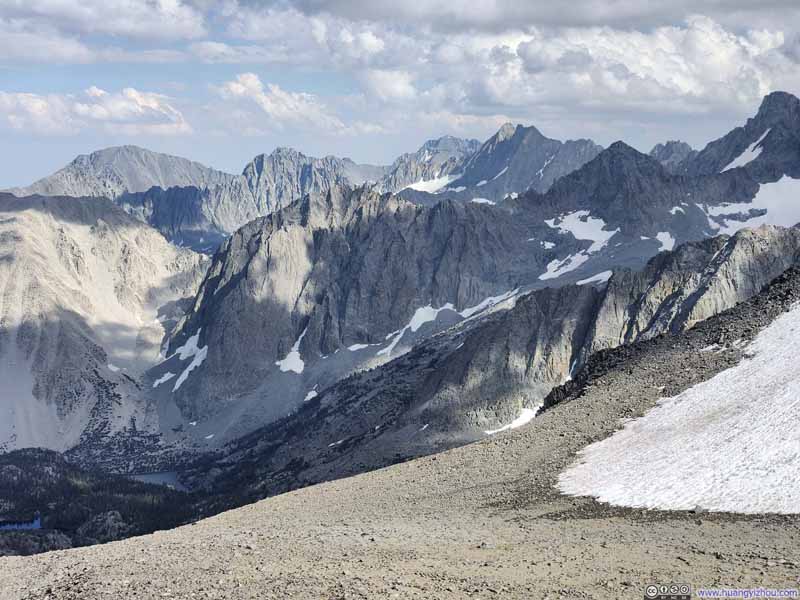
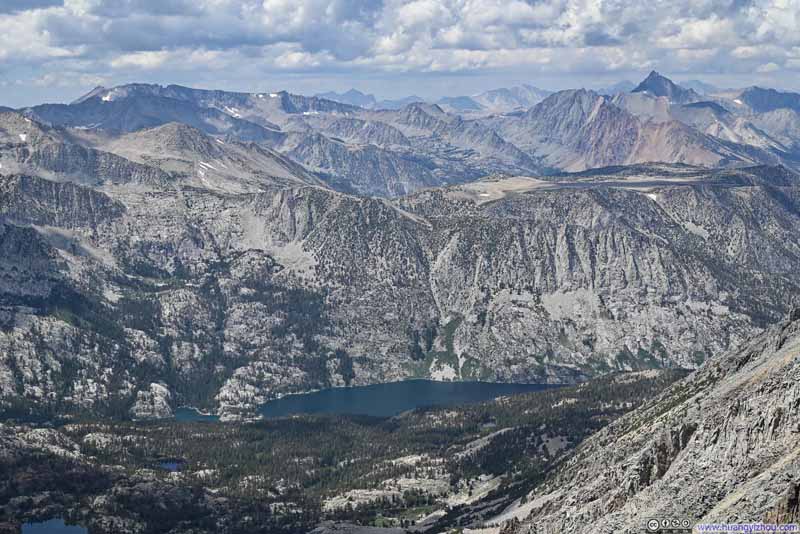
Finally, we reached the summit of Cloudripper at 2pm, marking a phenomenal triumph as possibly the most technical mountain that I had climbed, and the soaring peaks of Sierra Nevada that surrounded Cloudripper bore their witness. In addition, the steepness of Cloudripper’s western face meant the few alpine lakes that we passed through felt tentatively close as we looked down on them.

  • Mountains and Alpine Lakes
    Mountains and Alpine Lakes
  • Small Peak to the North
    Small Peak to the North
  • Mountains to the South
    Mountains to the South
    Palisades Group as the prominent backdrop.
  • Alpine Lakes surrounding Chocolate Peak
    Alpine Lakes surrounding Chocolate Peak
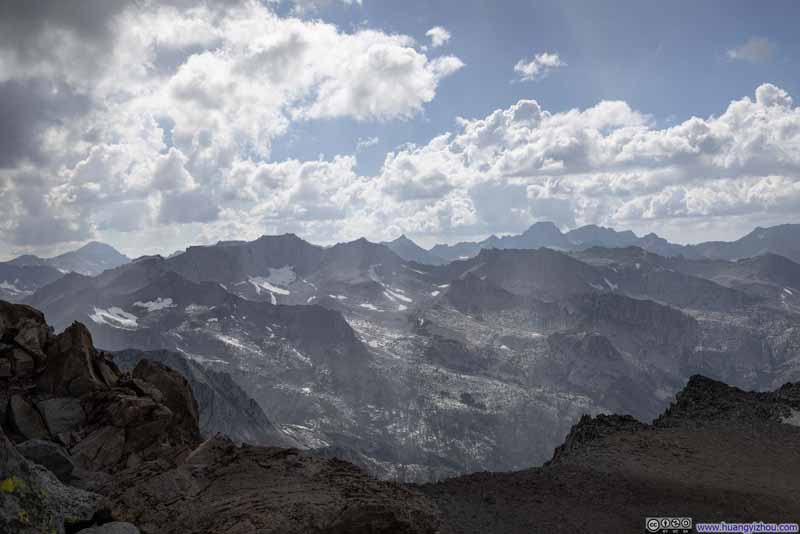
  • Mountains to the Southwest
    Mountains to the Southwest
    Endless layers of mountain ranges.
  • Mountains and Alpine Lakes
  • Small Peak to the North
  • Mountains to the South
  • Alpine Lakes surrounding Chocolate Peak
  • Mountains to the Southwest

Click here to display photos from the summit of Cloudripper.
Mountains and Alpine Lakes


Mountains and Alpine Lakes

Small Peak to the North


Small Peak to the North

Mountains to the South


Mountains to the South
Palisades Group as the prominent backdrop.

Alpine Lakes surrounding Chocolate Peak


Alpine Lakes surrounding Chocolate Peak

Mountains to the Southwest


Mountains to the Southwest
Endless layers of mountain ranges.


View from Cloudripper Summit


View from Cloudripper Summit

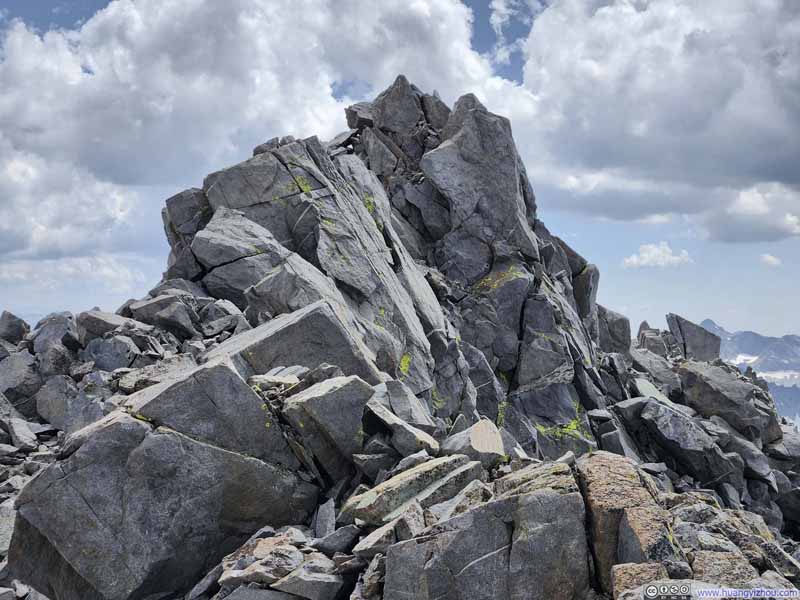
  • Summit of Cloudripper
    Summit of Cloudripper
  • Looking back at Cloudripper Summit
    Looking back at Cloudripper Summit
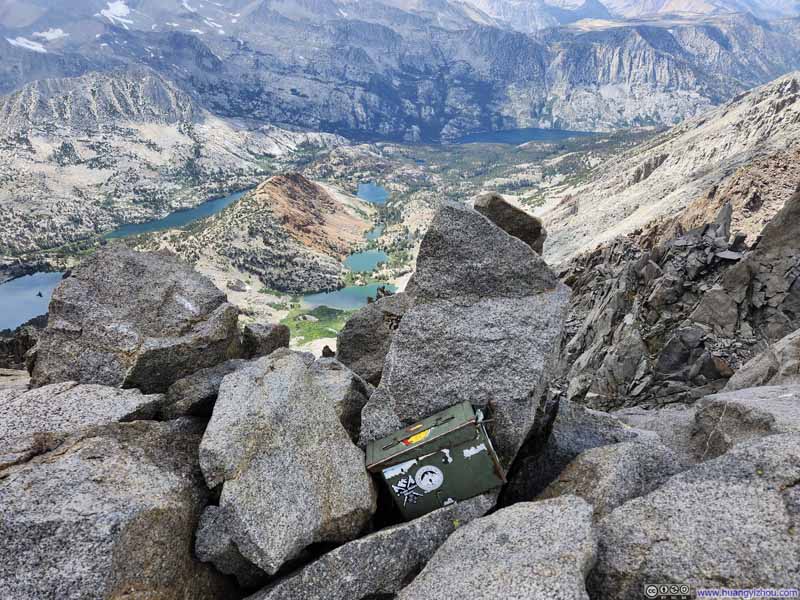
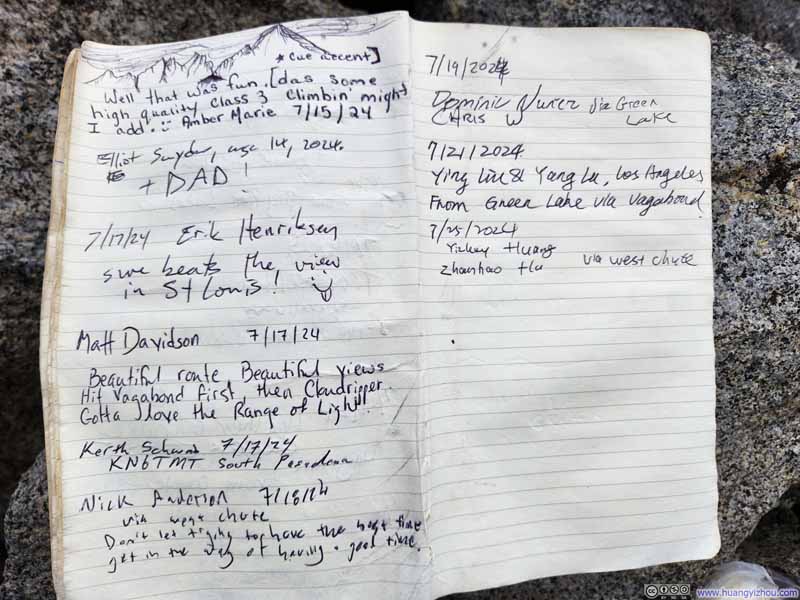
  • Log Book on Cloudripper Summit
    Log Book on Cloudripper Summit
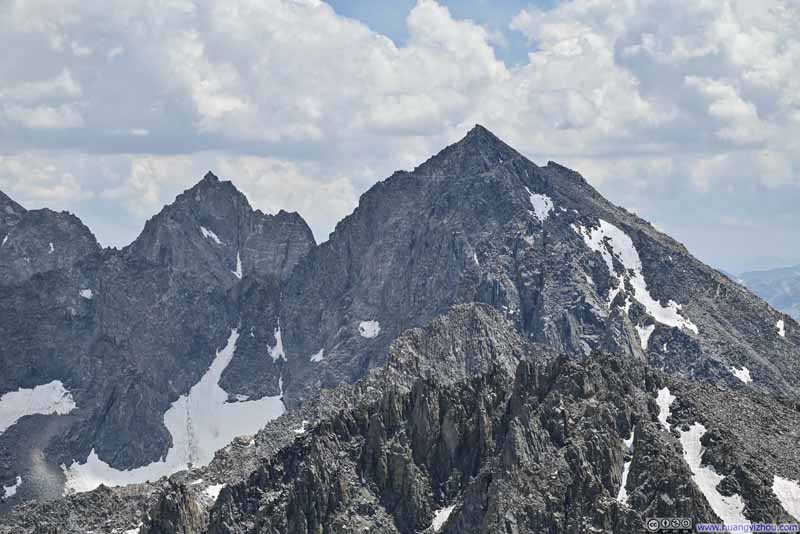
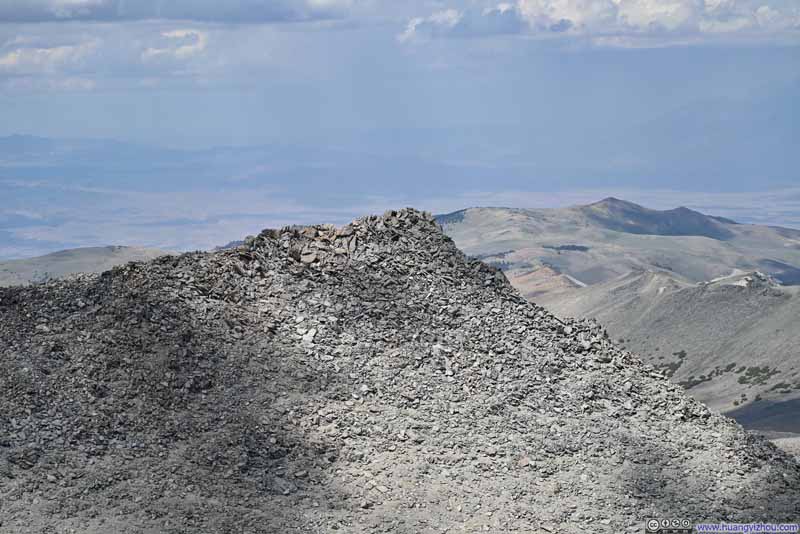
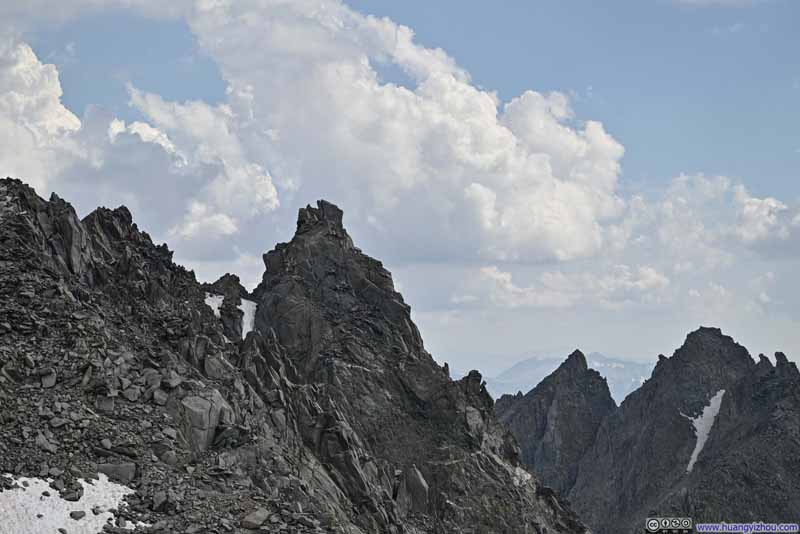
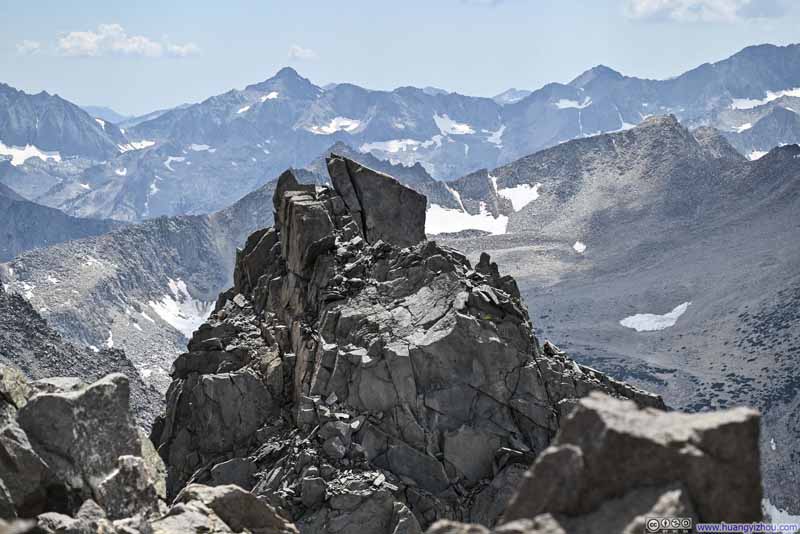
  • Small Peak to the South
    Small Peak to the South
    This one looked pointier from multiple angles, and could be easily mistaken for the summit of Cloudripper.
  • Summit of Cloudripper
  • Looking back at Cloudripper Summit
  • Log Book on Cloudripper Summit
  • Small Peak to the South

Click here to display photos from the summit of Cloudripper.
Summit of Cloudripper


Summit of Cloudripper

Looking back at Cloudripper Summit


Looking back at Cloudripper Summit

Log Book on Cloudripper Summit


Log Book on Cloudripper Summit

Small Peak to the South


Small Peak to the South

This one looked pointier from multiple angles, and could be easily mistaken for the summit of Cloudripper.


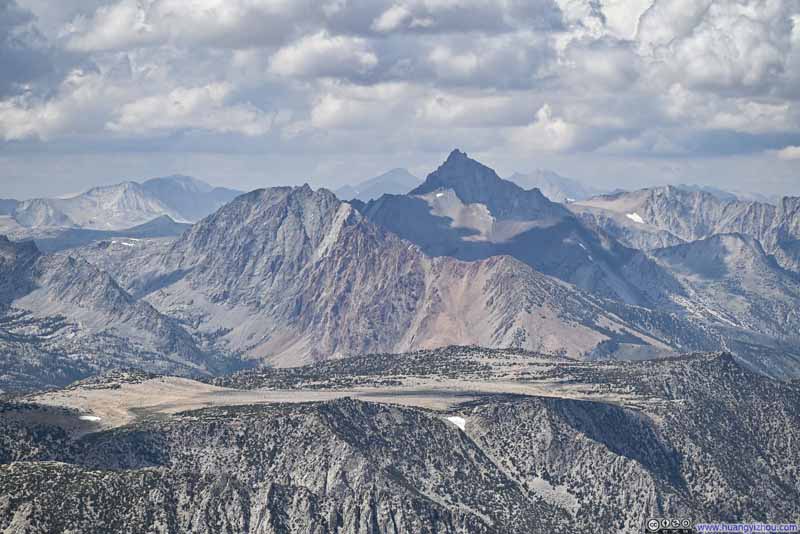
  • Mount Agassiz
    And Mount Winchell in the background left.
  • Palisades Group Mountains
    Palisades Group Mountains

  • Looking back at South Lake
    Mount Lamarck in the background left, Mount Emerson and Mount Humphreys in the right.

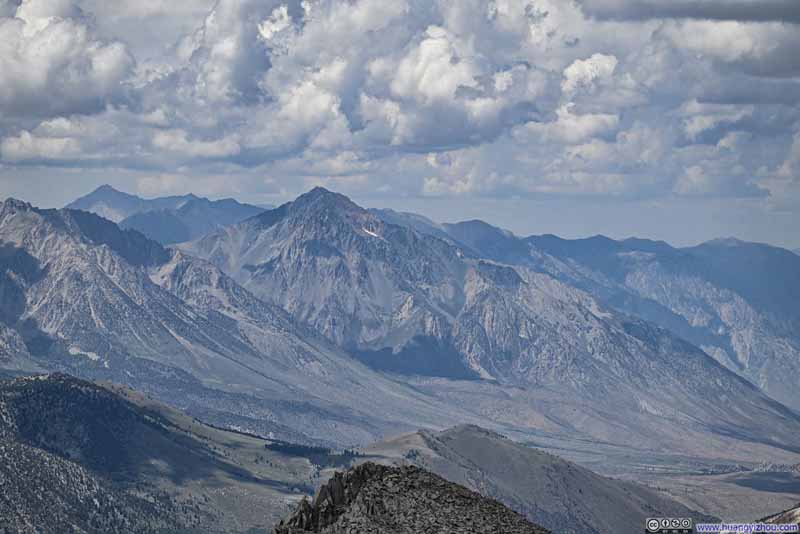
  • Mountains to the Northwest
    Mount Emerson in the foreground, Mount Humphreys in the background.
  • Mount Tom
    Mount Tom
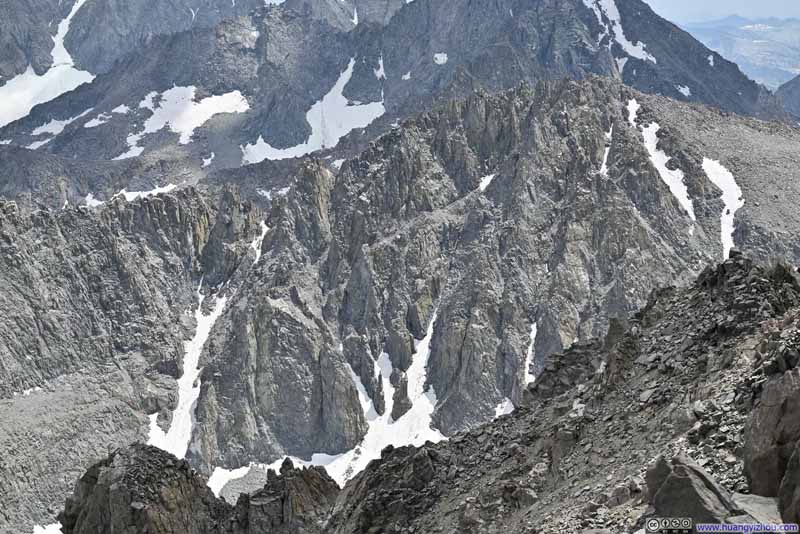
  • Couloirs of Gendarme Peak
    Couloirs of Gendarme Peak

  • Distant Mountains to the Southwest
    Devils Crags and Wheel Mountain in the background.

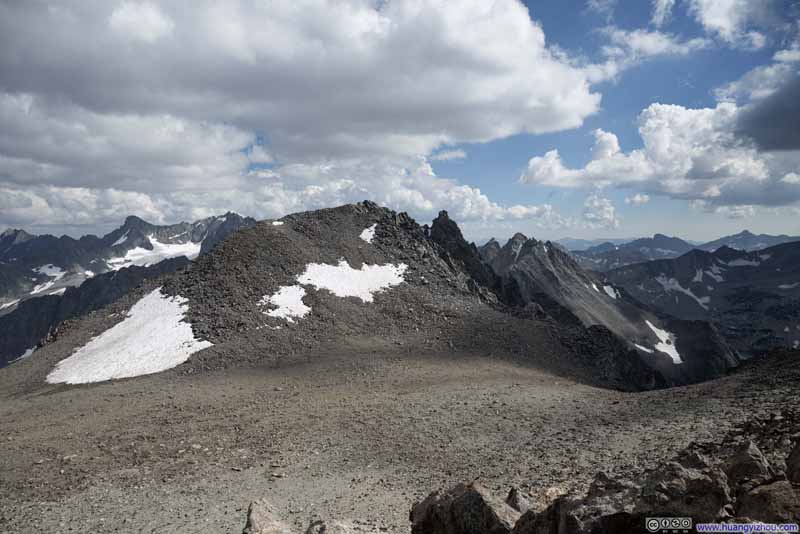
  • Vagabond Peak
    Which we would pass on our way back.
  • Sky Haven Mountain
    Sky Haven Mountain
  • Alpine Lakes along North Fork Big Pine Creek
    Alpine Lakes along North Fork Big Pine Creek
  • Mount Agassiz
  • Palisades Group Mountains
  • Looking back at South Lake
  • Mountains to the Northwest
  • Mount Tom
  • Couloirs of Gendarme Peak
  • Distant Mountains to the Southwest
  • Vagabond Peak
  • Sky Haven Mountain
  • Alpine Lakes along North Fork Big Pine Creek

Click here to display photos from the summit of Cloudripper.
Mount Agassiz


Mount Agassiz
And Mount Winchell in the background left.

Palisades Group Mountains


Palisades Group Mountains

Looking back at South Lake


Looking back at South Lake
Mount Lamarck in the background left, Mount Emerson and Mount Humphreys in the right.

Mountains to the Northwest


Mountains to the Northwest
Mount Emerson in the foreground, Mount Humphreys in the background.

Mount Tom


Mount Tom

Couloirs of Gendarme Peak


Couloirs of Gendarme Peak

Distant Mountains to the Southwest


Distant Mountains to the Southwest
Devils Crags and Wheel Mountain in the background.

Vagabond Peak


Vagabond Peak
Which we would pass on our way back.

Sky Haven Mountain


Sky Haven Mountain

Alpine Lakes along North Fork Big Pine Creek


Alpine Lakes along North Fork Big Pine Creek


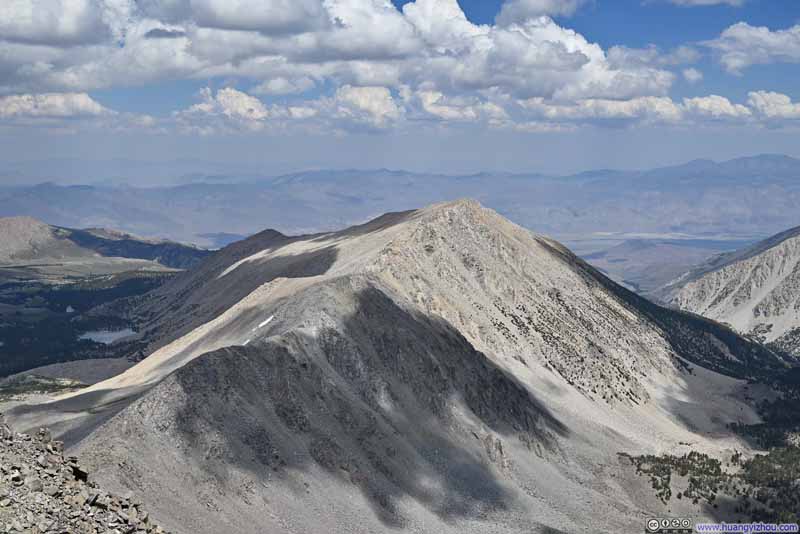
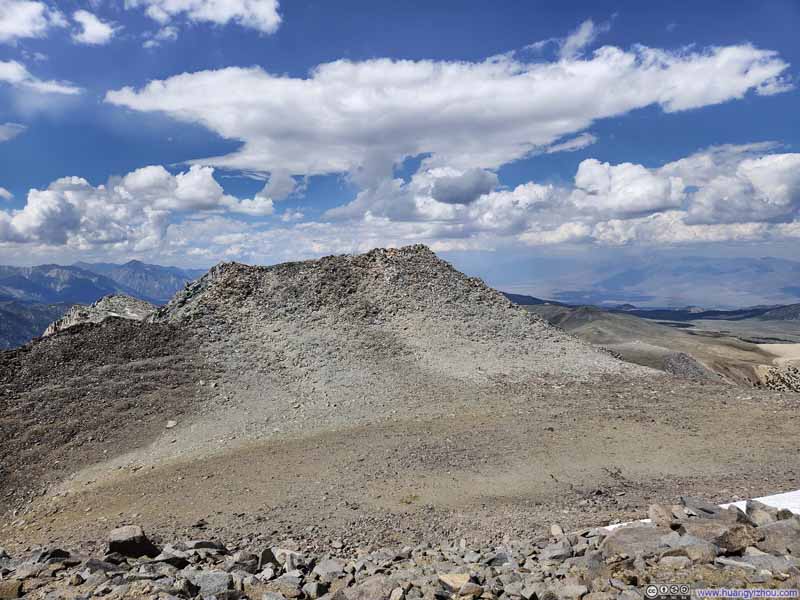
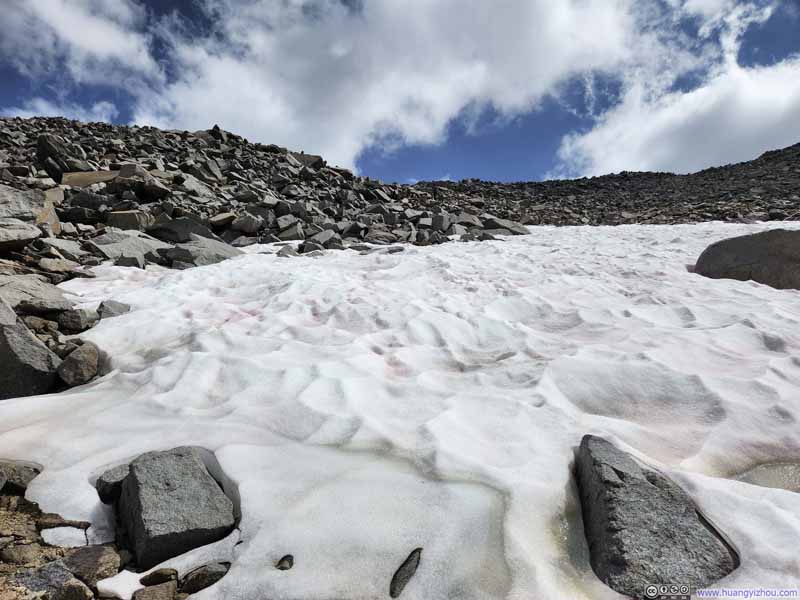
We stayed at the summit of Cloudripper for about 50 minutes before heading off towards Vagabond Peak. During some times of the year, the northern slope of Cloudripper would be covered by a large patch of snow, requiring some traction device (or improvised ski sled). During our visit, we found a narrow opening in the snow patch and went through.

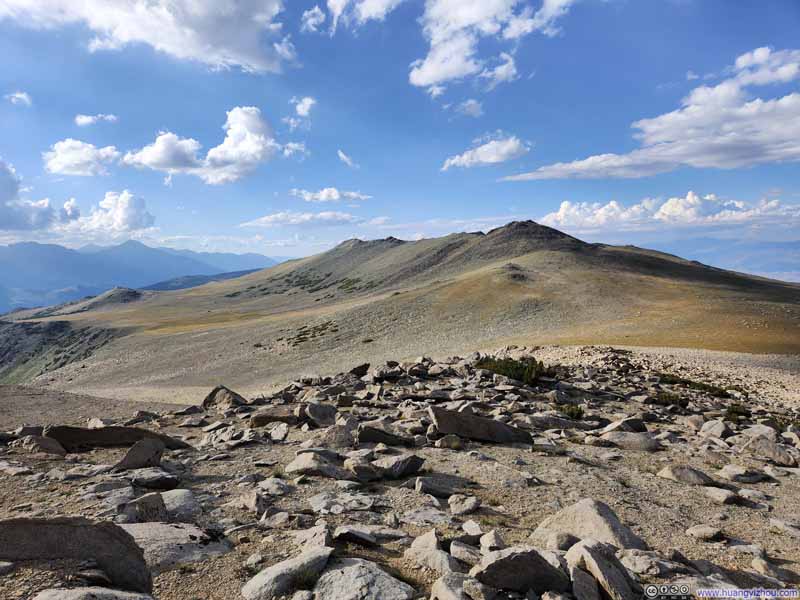
  • Vagabond Peak
    Vagabond Peak
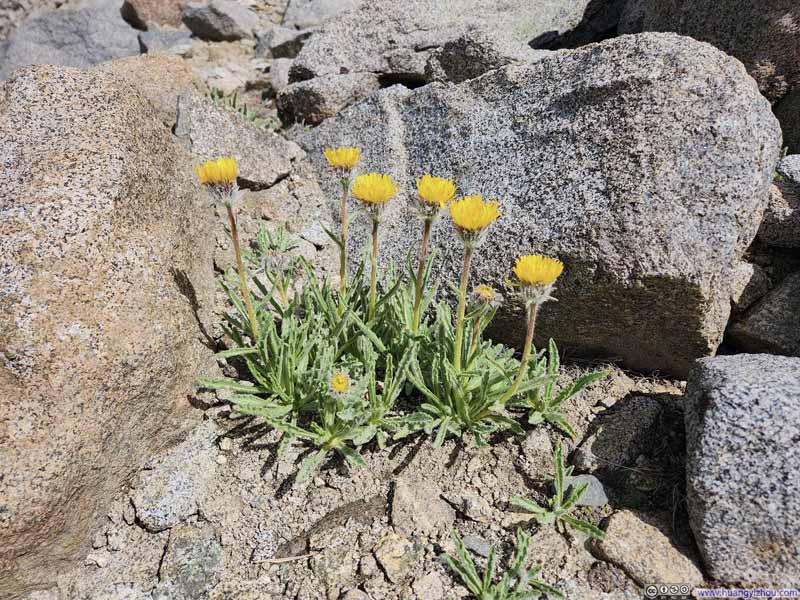
  • Flowers
    Flowers
    Seemingly grown out of rocks.
  • Snow Field on Cloudripper's North Slope
    Snow Field on Cloudripper’s North Slope
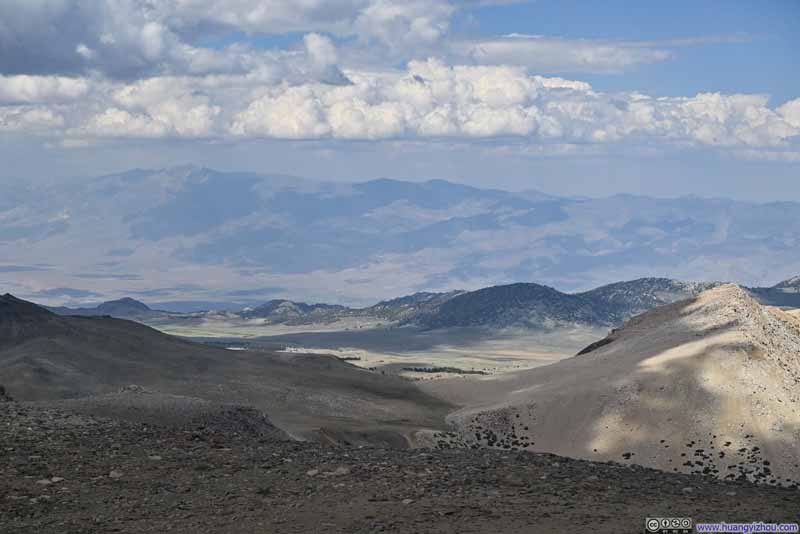
  • Fields and Distant White Mountains to the North
    Fields and Distant White Mountains to the North
  • Slope of Vagabond Peak
    Slope of Vagabond Peak
  • Vagabond Peak
  • Flowers
  • Snow Field on Cloudripper's North Slope
  • Fields and Distant White Mountains to the North
  • Slope of Vagabond Peak

Click here to display photos of the slideshow
Vagabond Peak


Vagabond Peak

Flowers


Flowers
Seemingly grown out of rocks.

Snow Field on Cloudripper's North Slope


Snow Field on Cloudripper’s North Slope

Fields and Distant White Mountains to the North


Fields and Distant White Mountains to the North

Slope of Vagabond Peak


Slope of Vagabond Peak


From Cloudripper to Vagabond Peak, it was first 150m of elevation loss, followed by a level field before another 100m of elevation gain. One could choose to bypass Vagabond Peak to the west to save some elevation gain, but like most people, we liked the excitement of bagging another peak and thus headed for Vagabond Peak. The parts near the top of Vagabond and Cloudripper were solid YDS class 2, but the technical parts didn’t last long and weren’t nearly as challenging as Cloudripper’s West Chute.
Unfortunately, upon leaving Cloudripper’s Summit, my friend wasn’t feeling the best of himself, likely due to the altitude. Despite the lack of scrambling, it’s a constant rock hopping between the two peaks, which certainly slowed him down. As a result, it took us an hour and 20 minutes to reach Vagabond from Cloudripper.
Weather forecast indicated small chances of rain in the afternoon. Not surprisingly, we were greeted by a few drops of drizzles on our way to Vagabond Peak. But the clouds above us had been scattered and the drizzle never lasted, as if Cloudripper was doing what its name suggested, ripping through the clouds above us.

  • Cloudripper from Vagabond Peak
    Cloudripper from Vagabond Peak
  • God Rays Shining on Sierra Crest Mountains
    God Rays Shining on Sierra Crest Mountains
  • Small Peak
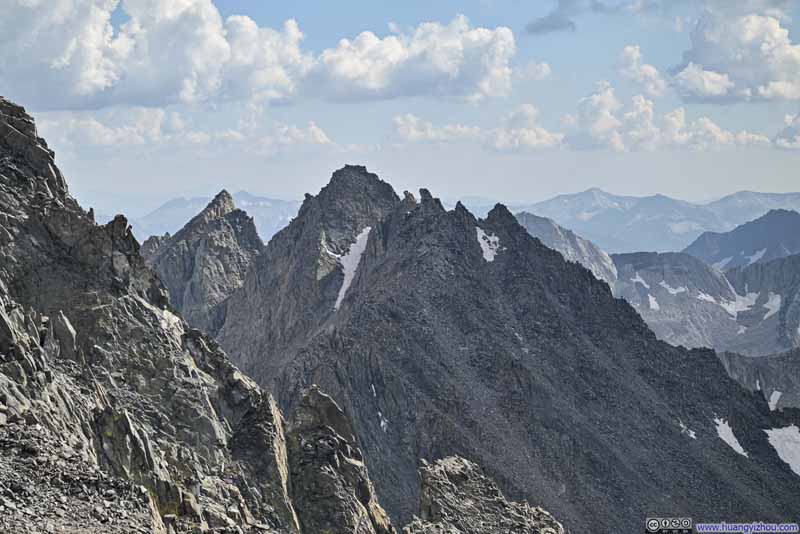
    Small Peak
    This one was to the south of Cloudripper, but looked a lot pointier than Cloudripper.
  • Picture Puzzle Peak
    Picture Puzzle Peak
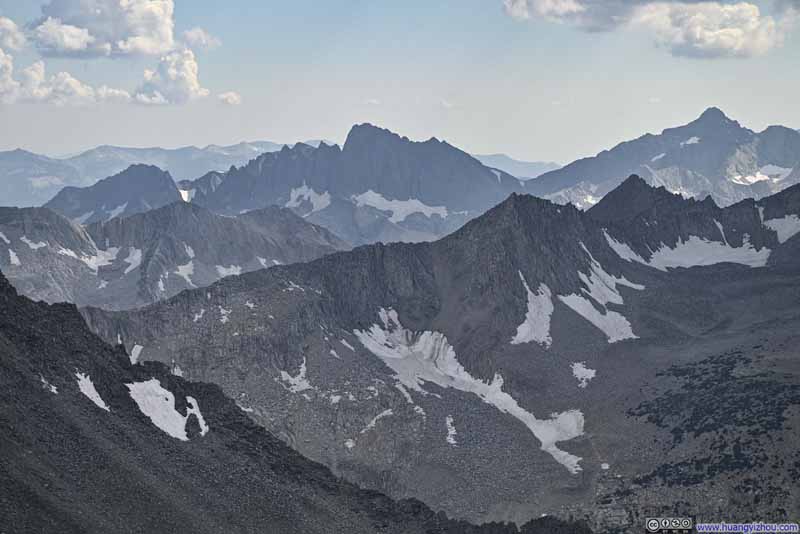
  • Mountains to the Southwest
    Mountains to the Southwest
    Mount Goode in the foreground right, Devils Crags, Wheel Mountain and Mount McDuffie in the background.
  • Temple Crag and Surrounding Mountains
    Temple Crag and Surrounding Mountains
  • Cloudripper from Vagabond Peak
  • God Rays Shining on Sierra Crest Mountains
  • Small Peak
  • Picture Puzzle Peak
  • Mountains to the Southwest
  • Temple Crag and Surrounding Mountains

Click here to display photos from the summit of Vagabond Peak.
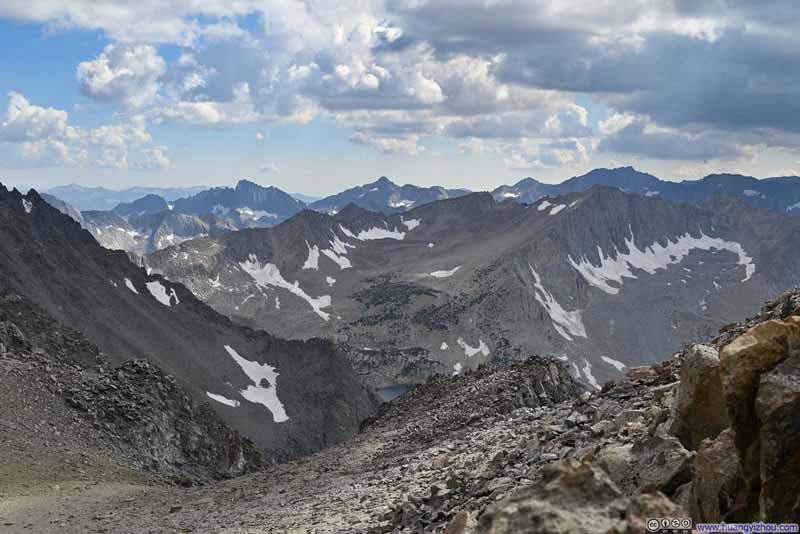
Cloudripper from Vagabond Peak


Cloudripper from Vagabond Peak

God Rays Shining on Sierra Crest Mountains


God Rays Shining on Sierra Crest Mountains

Small Peak


Small Peak
This one was to the south of Cloudripper, but looked a lot pointier than Cloudripper.

Picture Puzzle Peak


Picture Puzzle Peak

Mountains to the Southwest


Mountains to the Southwest

Mount Goode in the foreground right, Devils Crags, Wheel Mountain and Mount McDuffie in the background.

Temple Crag and Surrounding Mountains


Temple Crag and Surrounding Mountains


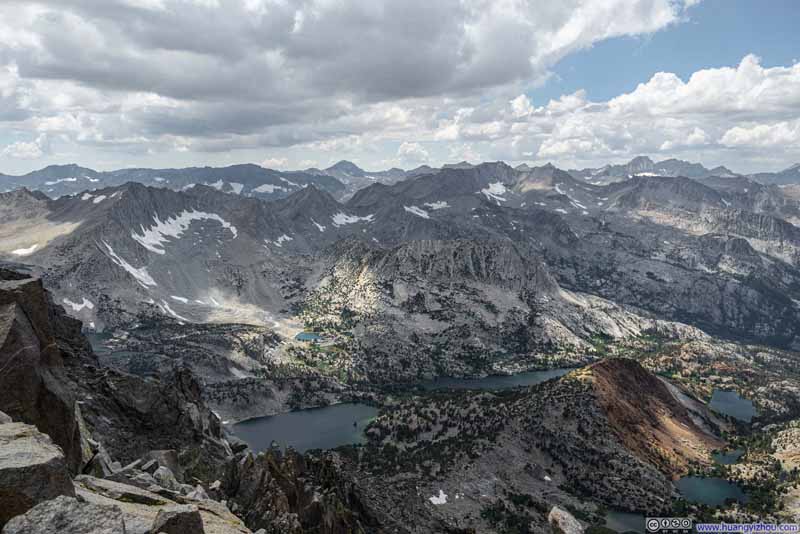
Compared to Cloudripper, the views on top of Vagabond Peak weren’t that exciting. Partly due to that the Palisades to the south, a highlight of the day, were partly blocked by Cloudripper in front. On the other hand, the few drizzles we experienced meant we watched an impressive show of god rays above the valley to the west (p2 above).

View from Vagabond Peak Summit


View from Vagabond Peak Summit

  • Distant Mountains to the Southwest
    Distant Mountains to the Southwest
    Devils Crags in the background left.
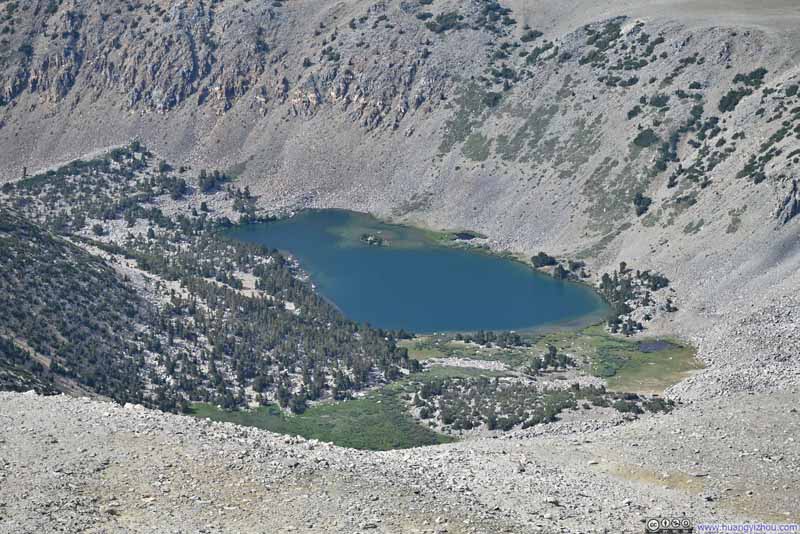
  • Overlooking Green Lake
    Overlooking Green Lake
    Which the trail would pass next.
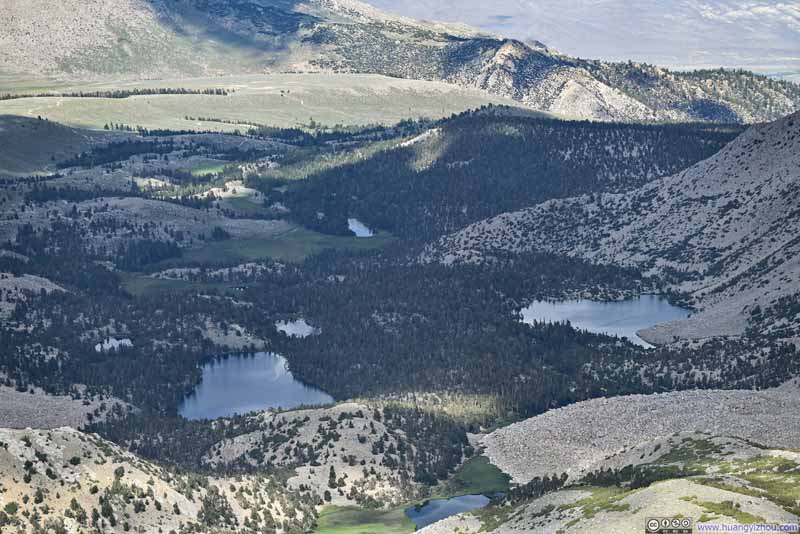
  • Alpine Lakes along Baker Creek
    Alpine Lakes along Baker Creek
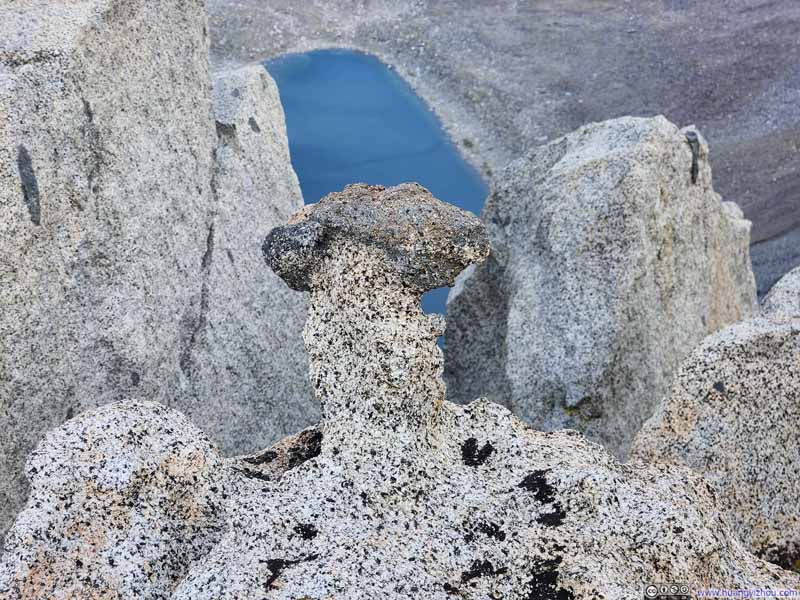
  • Mushroom Shaped Rock
    Mushroom Shaped Rock
  • Distant Mountains to the Southwest
  • Overlooking Green Lake
  • Alpine Lakes along Baker Creek
  • Mushroom Shaped Rock

Click here to display photos from the summit of Vagabond Peak.
Distant Mountains to the Southwest


Distant Mountains to the Southwest
Devils Crags in the background left.

Overlooking Green Lake


Overlooking Green Lake
Which the trail would pass next.

Alpine Lakes along Baker Creek


Alpine Lakes along Baker Creek

Mushroom Shaped Rock


Mushroom Shaped Rock


We stayed at Vagabond Peak for about 35 minutes before starting our descent at 4:50pm. One thing that slightly bothered me was that, for about 2.5km (1.5mi) after leaving Vagabond Peak, there was no visible trail (neither was the path well marked on maps). This was okay at first as we rock hopped off Vagabond Peak; but as we got closer to Green Lake Trail vegetation started to grow, and I really didn’t want to step on them to cause erosion.
In addition, my friend was still somewhat affected by the altitude and thus went relatively slowly.

  • Slope of Vagabond Peak
    Slope of Vagabond Peak
  • Looking Back at Vagabond Peak
    Looking Back at Vagabond Peak
  • Improvised Rock Shelter
    Improvised Rock Shelter
  • Trail
    Trail
    The two piles of rocks seemed to form a portal, between which the trail passed through.
  • Pile of Rocks along Trail
    Pile of Rocks along Trail
  • The Hunchback Mountain
    The Hunchback Mountain
    A small hill to the north of the trail.
  • Slope of Vagabond Peak
  • Looking Back at Vagabond Peak
  • Improvised Rock Shelter
  • Trail
  • Pile of Rocks along Trail
  • The Hunchback Mountain

Click here to display photos of the slideshow
Slope of Vagabond Peak


Slope of Vagabond Peak

Looking Back at Vagabond Peak


Looking Back at Vagabond Peak

Improvised Rock Shelter


Improvised Rock Shelter

Trail


Trail
The two piles of rocks seemed to form a portal, between which the trail passed through.

Pile of Rocks along Trail


Pile of Rocks along Trail

The Hunchback Mountain


The Hunchback Mountain
A small hill to the north of the trail.


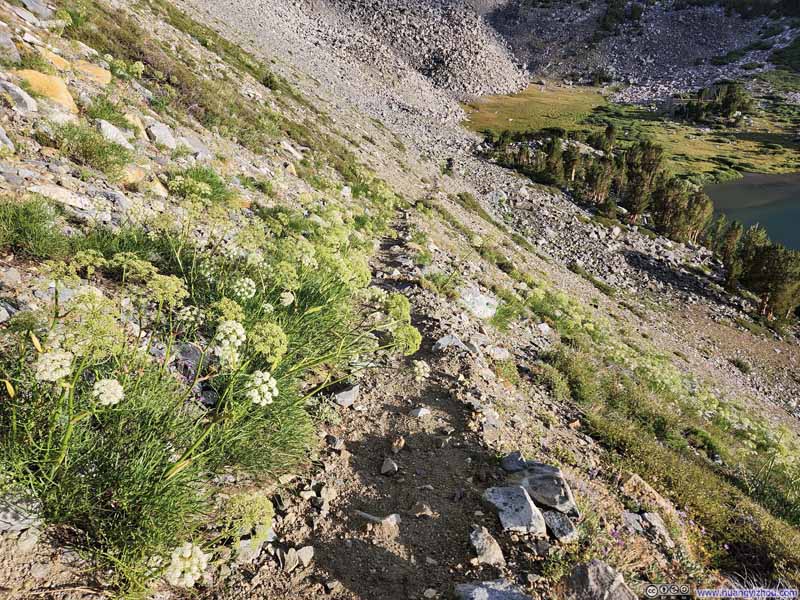
After finally regaining the trail at the top of switchbacks overlooking Green Lake, we started our descent towards it. It’s a nice view to watch the lake and the surrounding vegetation baked in the warm afternoon sun. But on the other hand, the switchback felt a bit redundant as I wouldn’t consider it steep.

Alternatively, I saw some recordings online that descended straight through the talus fields to the south of Green Lake, without detouring towards Green Lake Trail and descending from its north as we did. This was surely a shorter route, I had no clue about its viability, but it seemed to go through a swamp to the south of Green Lake so it might involve bushwacking or going through patches of mud, which I didn’t enjoy.


  • Overlooking Green Lake
    Overlooking Green Lake
  • Valley near Vagabond Peak
    Valley near Vagabond Peak
    Impressively looking rocks.
  • Flowers along Trail to Green Lake
    Flowers along Trail to Green Lake
  • Green Lake
    Green Lake
  • Flowers along Trail
    Flowers along Trail
  • Flowers along Trail
    Flowers along Trail
  • Flowers along Trail
    Flowers along Trail
  • Overlooking Green Lake
  • Valley near Vagabond Peak
  • Flowers along Trail to Green Lake
  • Green Lake
  • Flowers along Trail
  • Flowers along Trail
  • Flowers along Trail

Click here to display photos of the slideshow
Overlooking Green Lake


Overlooking Green Lake

Valley near Vagabond Peak


Valley near Vagabond Peak
Impressively looking rocks.

Flowers along Trail to Green Lake


Flowers along Trail to Green Lake

Green Lake


Green Lake

Flowers along Trail


Flowers along Trail
Flowers along Trail
Flowers along Trail


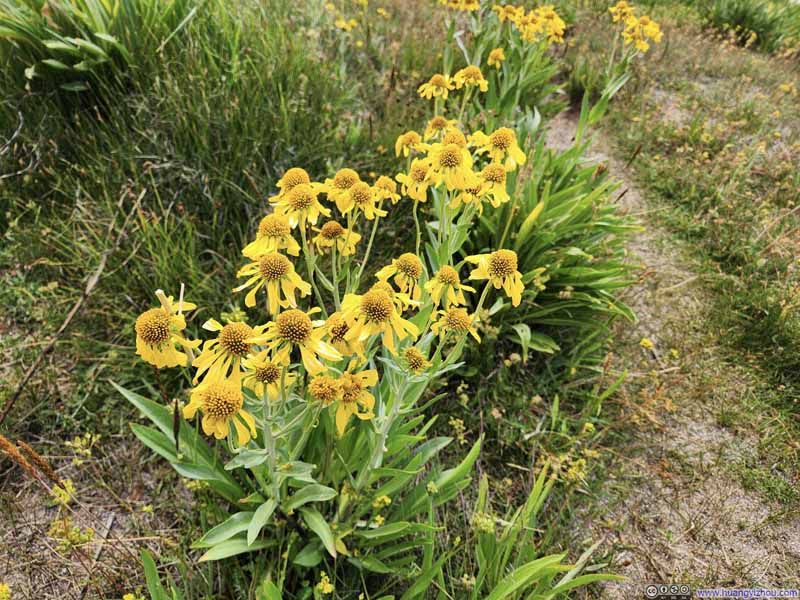
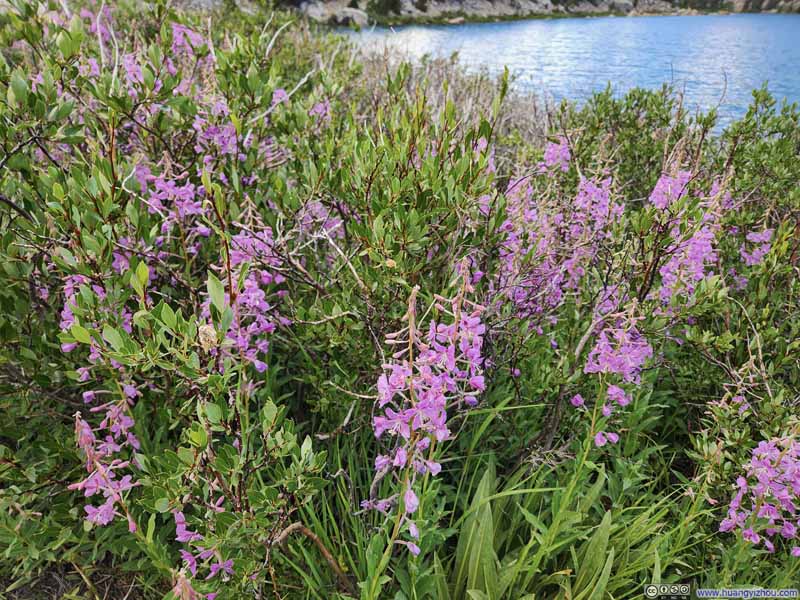
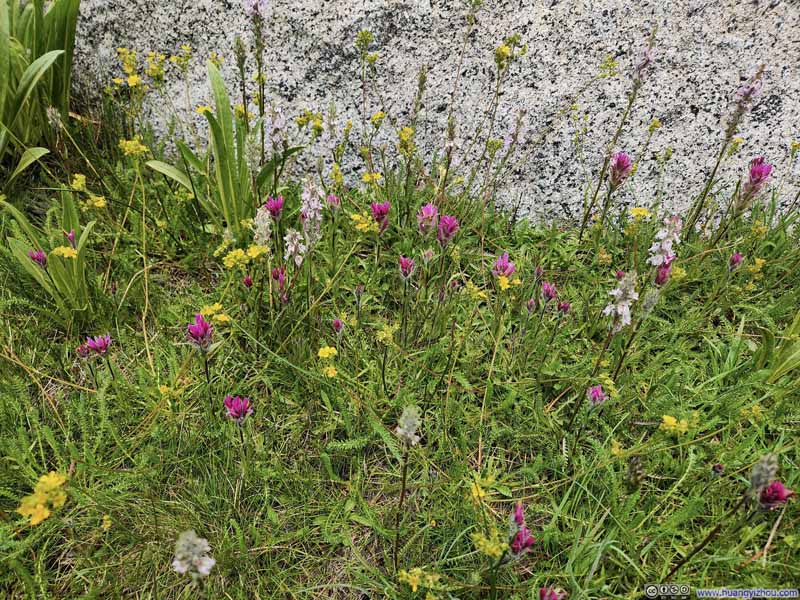
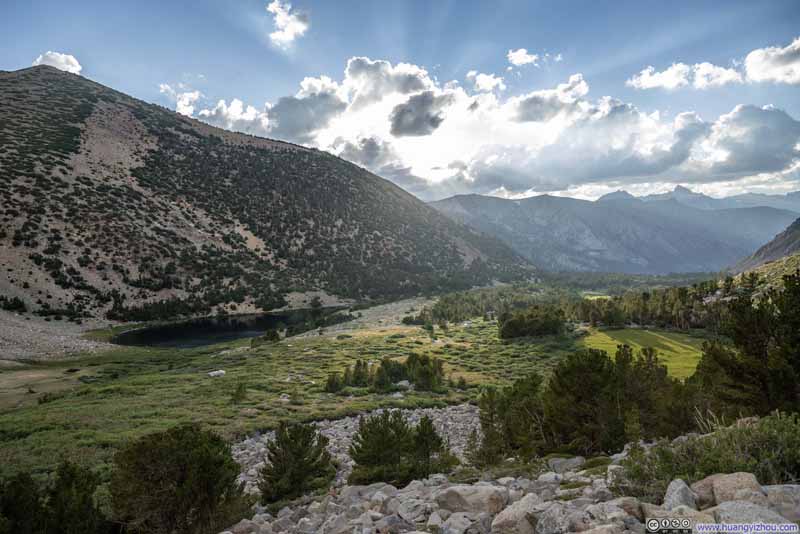
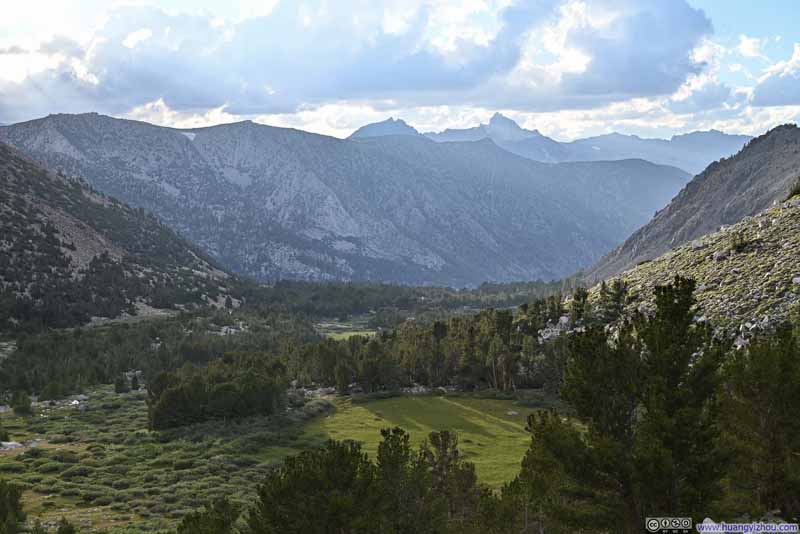
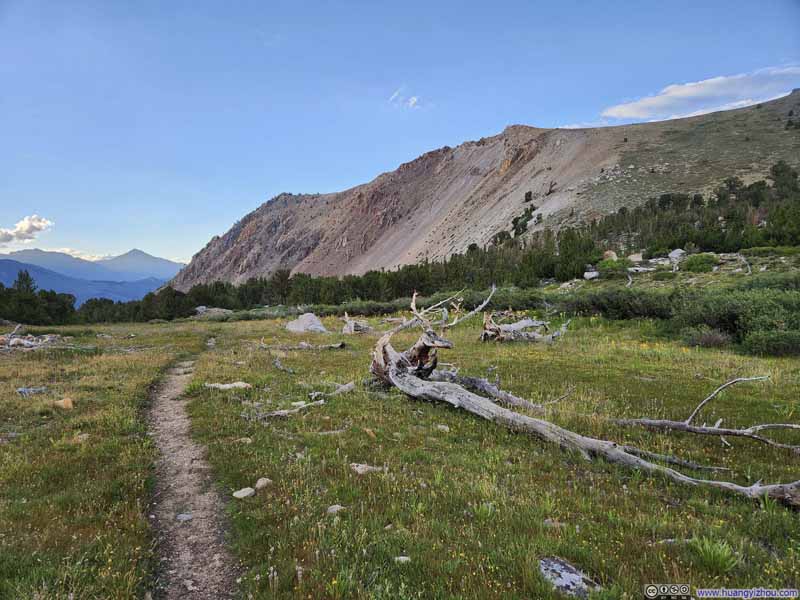
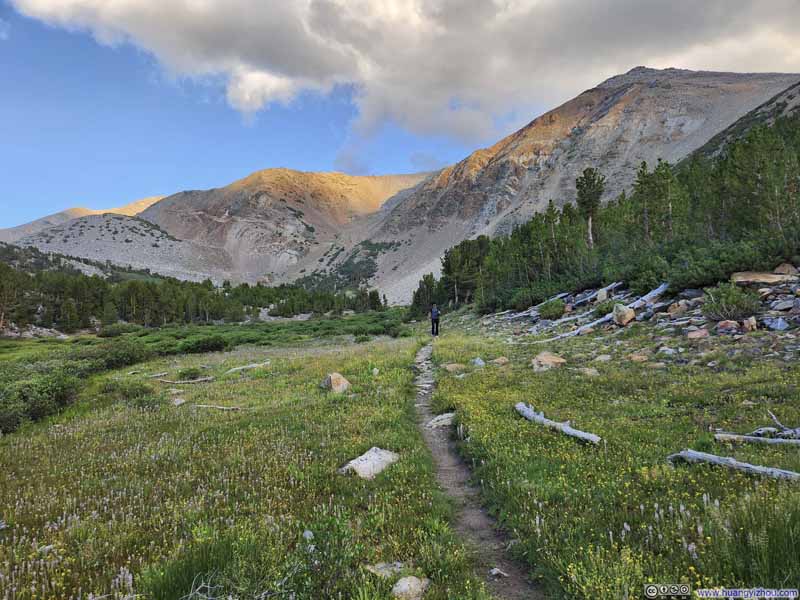
At Green Lake and the subsequent Brown Lake, there was one water crossing each that was hard to spot. The trail between these lakes traveled in a beautiful valley decorated with wildflowers and occasional god rays, as if to welcome our triumphant return from Cloudripper.

  • Valley Scene near Sunset
    Valley Scene near Sunset
  • Valley Scene near Sunset
    Valley Scene near Sunset
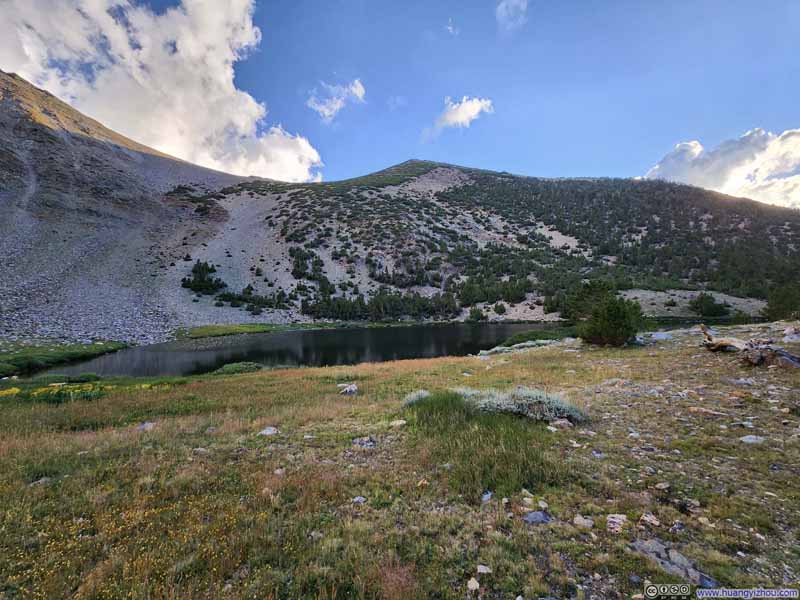
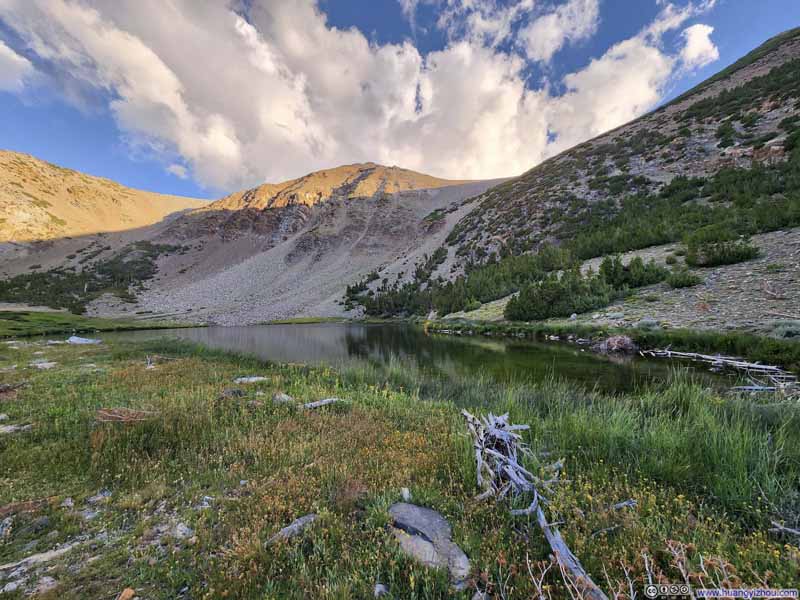
  • Brown Lake
    Brown Lake
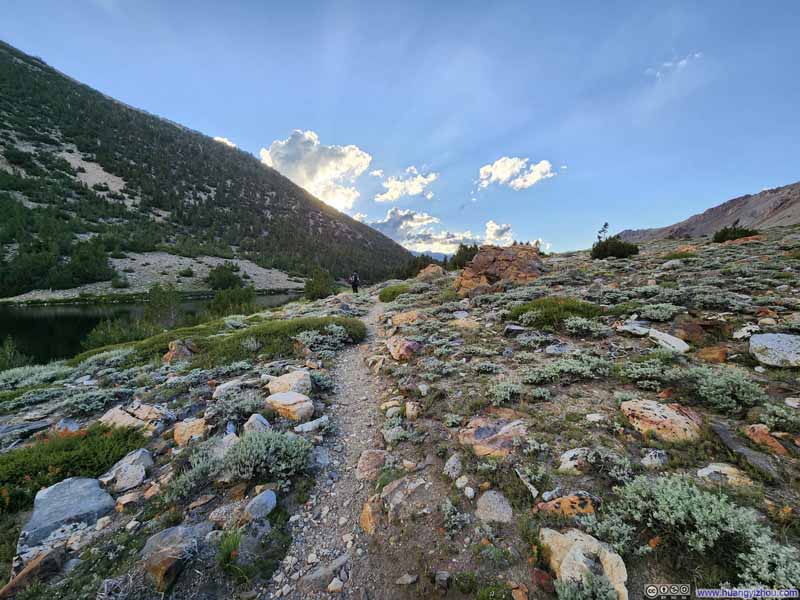
  • Trail next to Brown Lake
    Trail next to Brown Lake
  • Brown Lake
    Brown Lake
  • Trail
    Trail
  • Trail
    Trail
  • Valley Scene near Sunset
  • Valley Scene near Sunset
  • Brown Lake
  • Trail next to Brown Lake
  • Brown Lake
  • Trail
  • Trail

Click here to display photos of the slideshow
Valley Scene near Sunset


Valley Scene near Sunset

Brown Lake


Brown Lake

Trail next to Brown Lake


Trail next to Brown Lake

Brown Lake


Brown Lake

Trail


Trail
Trail


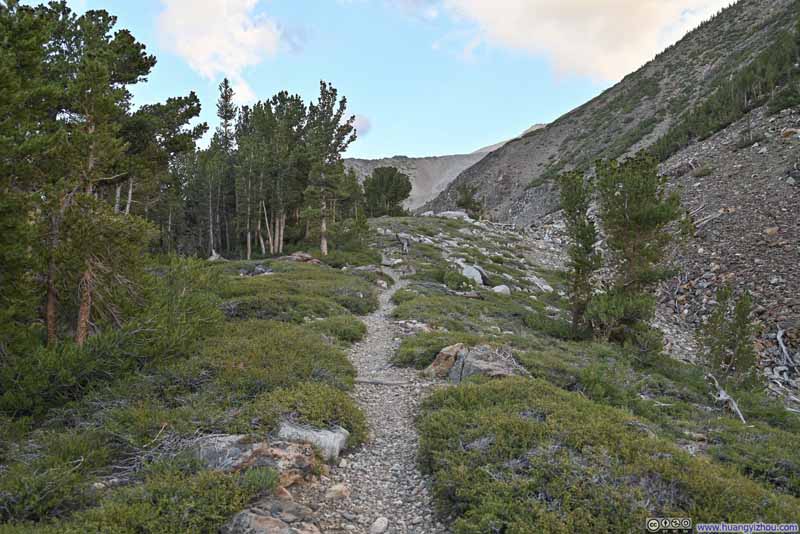
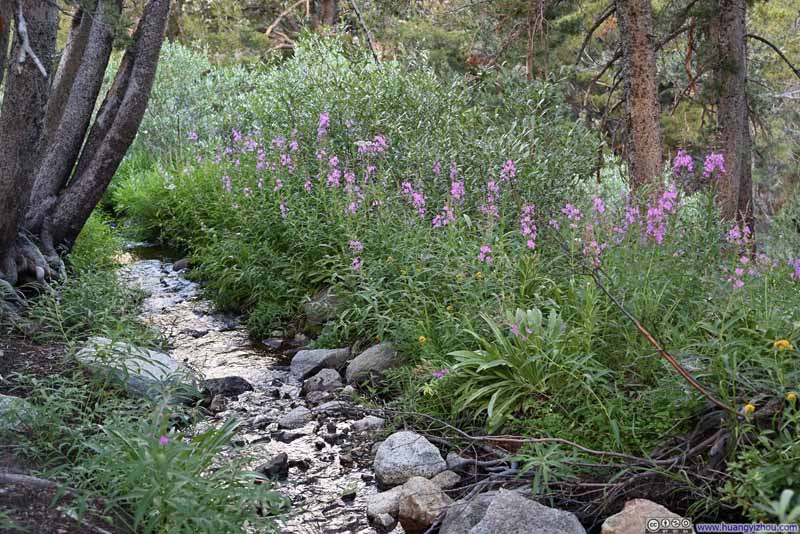
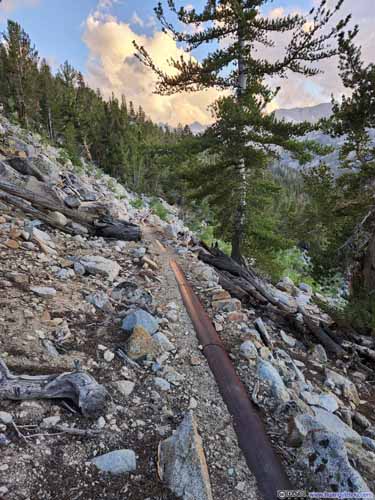
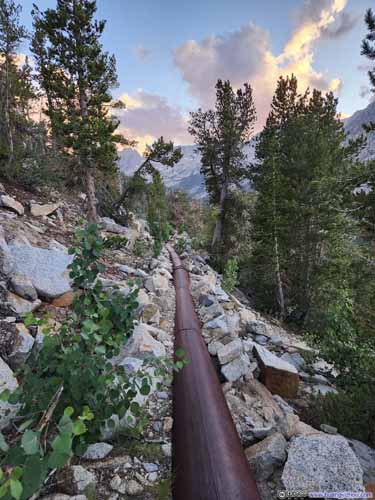
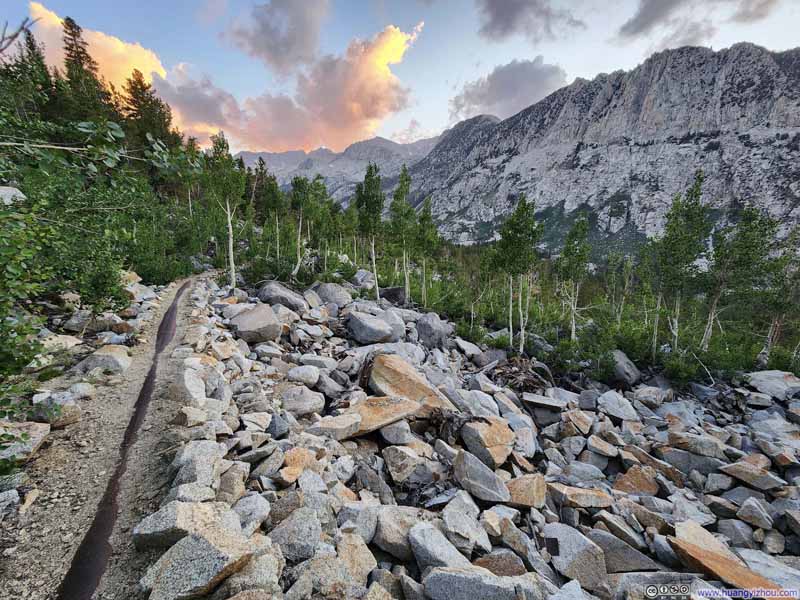
For the final 1.4km (0.9mi) of our journey, we chose to take the “pipeline shortcut” instead of the longer “Green Lake Trail” and “Rainbow Pack Station Trail” combination, which also saved us some elevation gain. The pipeline looked abandoned (and buckled at a few places), so I had no guilt of walking on it and damaging it further. The pipeline was nonetheless narrower than a standard trail and at times came with exposure, but for those that could tackle Vagabond Peak, it shouldn’t be an issue.

  • Trail
    Trail
  • Flowers along Creek
    Flowers along Creek
  • Trail along Pipeline Trail along Pipeline
    Trail along Pipeline
  • Trail along Pipeline
    Trail along Pipeline
  • Trail
  • Flowers along Creek
  • Trail along Pipeline
  • Trail along Pipeline

Click here to display photos of the slideshow
Trail


Trail

Flowers along Creek


Flowers along Creek

Trail along Pipeline

 Trail along Pipeline
Trail along Pipeline


Finally, we were back at the parking lot at 8:20pm, concluding the hike in just over 12 hours.
END

CC BY-NC-SA 4.0 Day 6 of July 2024 Trip to Sierra Nevada, Cloudripper via West Chute by Huang's Site is licensed under a Creative Commons Attribution-NonCommercial-ShareAlike 4.0 International License.

Leave a Reply

Your email address will not be published. Required fields are marked *